Showing posts with label #craft. Show all posts

Saturday, December 22, 2012

Mason Jar Chandelier

Anyone else have a serious obsession with mason jars?

Over a month ago I bought four large mason jars with the idea I was going to craft something of my new home office. 

Darn Pinterest gave me these AMAZING ideas that led me to believe I could 
work two jobs, be a mom and have this unlimited amount of time to craft. 
What was I thinking?

My husband is the sweetest. He took the jars and made his own 
creation of awesomeness that now hangs right above my desk.
Isn't it gorgeous?! 
Photobucket

Friday, December 21, 2012

DIY "Big-Bang-For-No-Bucks" Christmas Star

Hi! My name is Melissa and I blog about making our house into a home over at LovingHere.com (with my Hubs who occasionally will pop in with a post on woodworking or something of the sort). Now that Christmas is so close, I've had this huge desire to make our first Christmas in this house (we lived in an apartment last year so this is extra special--our first house ever!) especially beautiful.
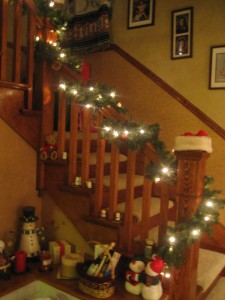

Plus, I grew up in a household that really decorated for Christmas with a big tree, garland on the stairs, wreaths, candles, snowmen, toy trains--all so beautiful! That's my parents' house on the left--so pretty and festive. And I wanted our home to have that special, exciting feel, too! If you're like me, even though small, sparkly ornaments and pretty garlands are fancy and festive, you find that sometimes it takes a bigger piece to really make an impact on a room. Unfortunately, those larger decorative items can cost a lot!
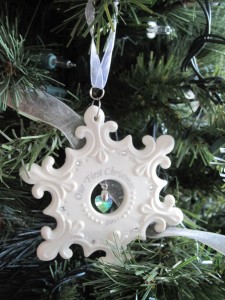
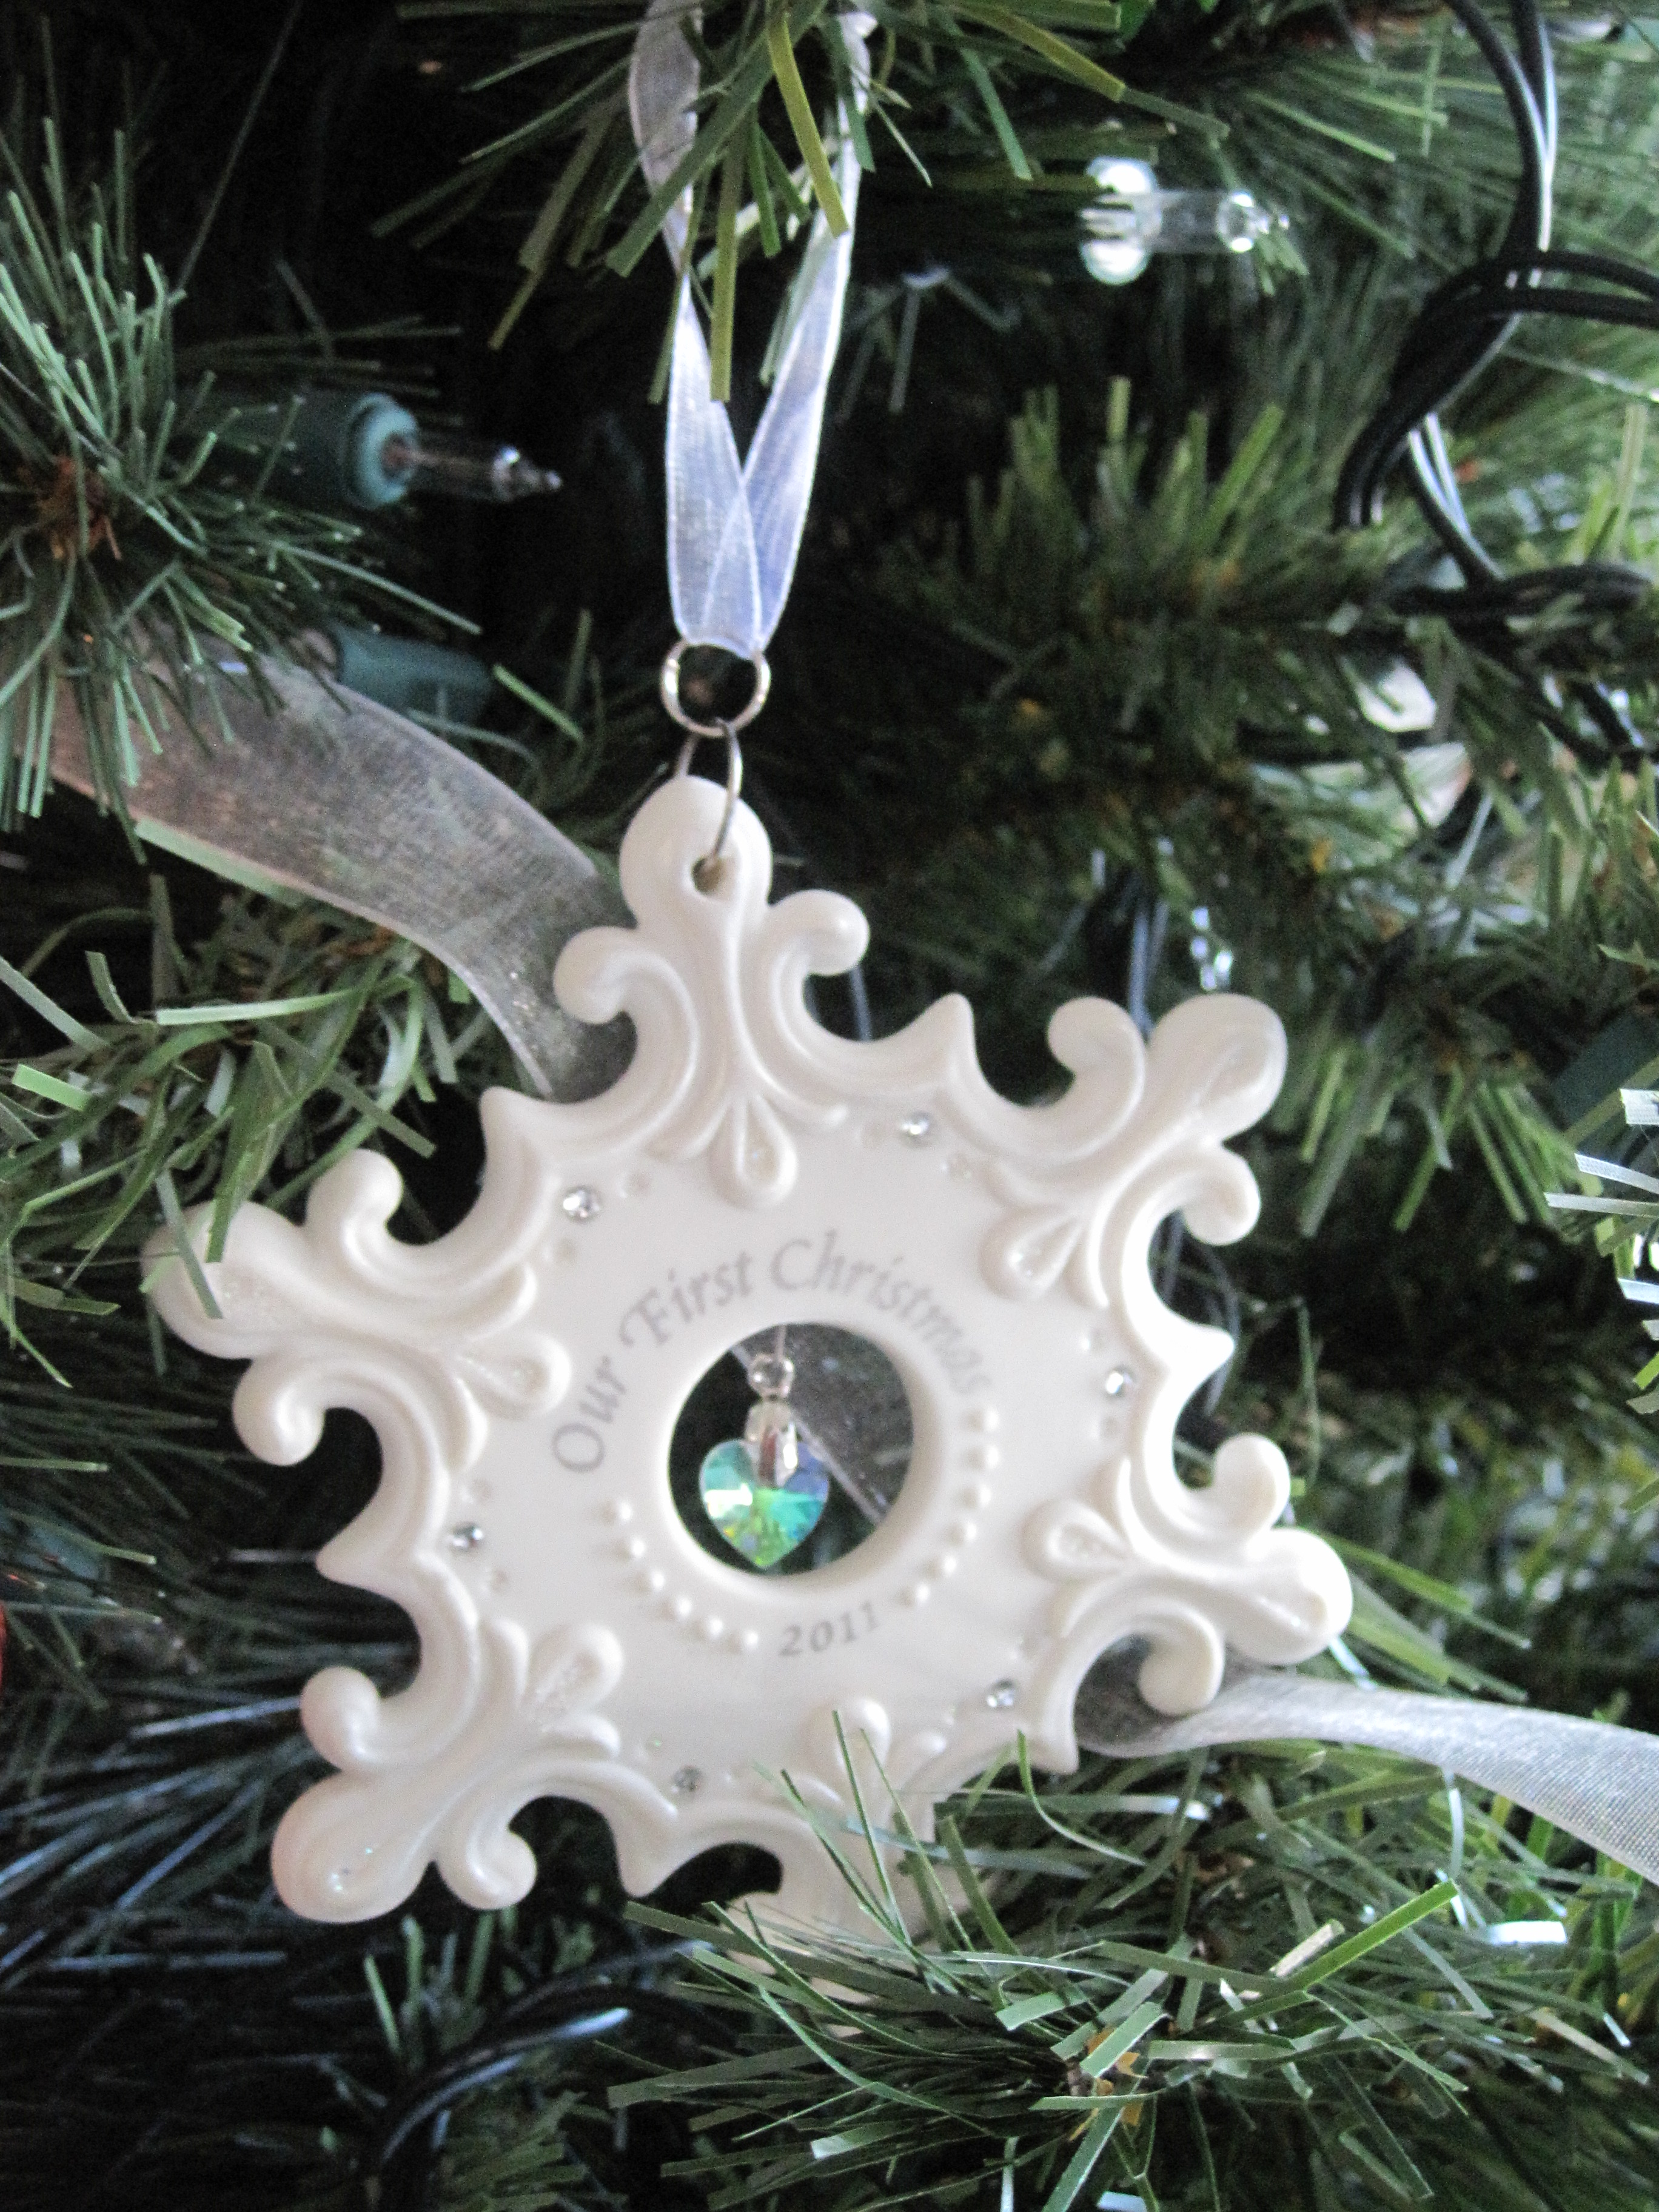
As a not-so-newlywed (going on 2 years now), we don't have a lot of decorations, nor do we have the budget to go out and stock up on all things red, green, and sparkly, no matter how lovely they are (like the ornament Hubs got me last year for our first married Christmas). Plus, I find making crafts at Christmastime to be therapeutic, peaceful, and just plain perfect for putting me in the mood for this sometimes-energy-draining-yet-still-magical time of year. So, I wanted to share with you an idea I had for making a large Christmas decoration for almost no money. (I like the sound of that!) I starting thinking that I wanted something large to hang above our mantle, or maybe on the opposite wall of our living room (we have faulted ceilings, which leaves a big, triangular-shaped open space to hang something). Artwork was going to be $100 or more for something we liked, so we've just been putting it off to make something ourselves. I was fine with waiting because we've been so busy doing other, bigger (and smaller) projects around the house since we moved in a few months ago. When I started decorating, though, I got impatient and set out to make something I could hang up there temporarily. Here's what I came up with:
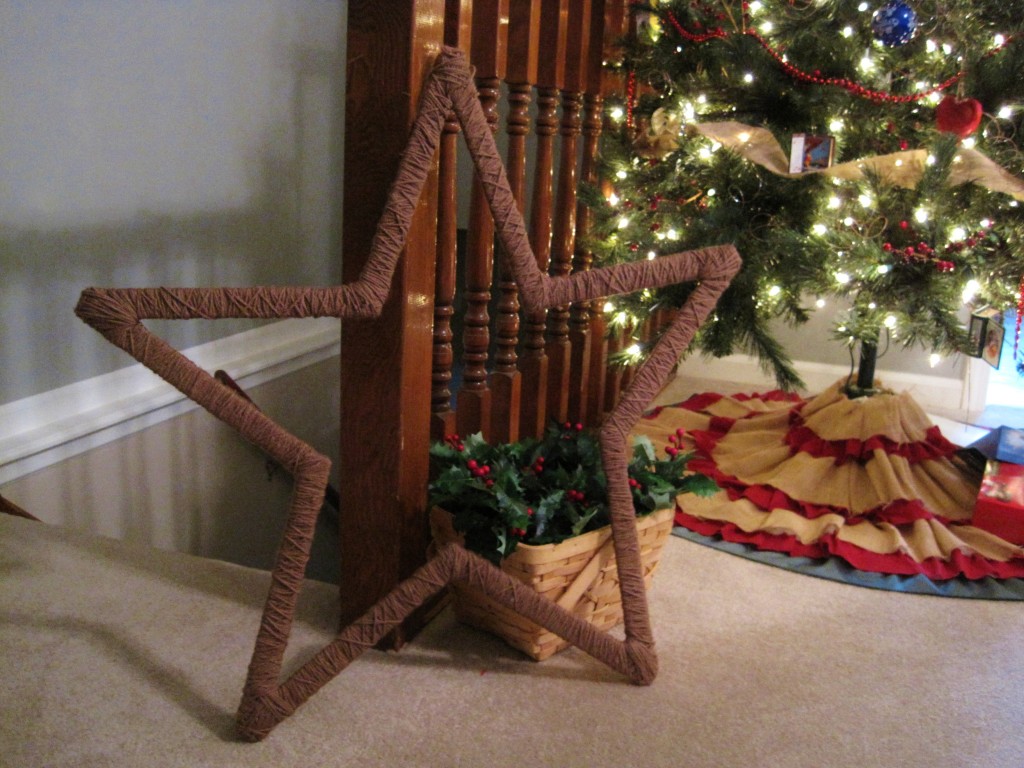
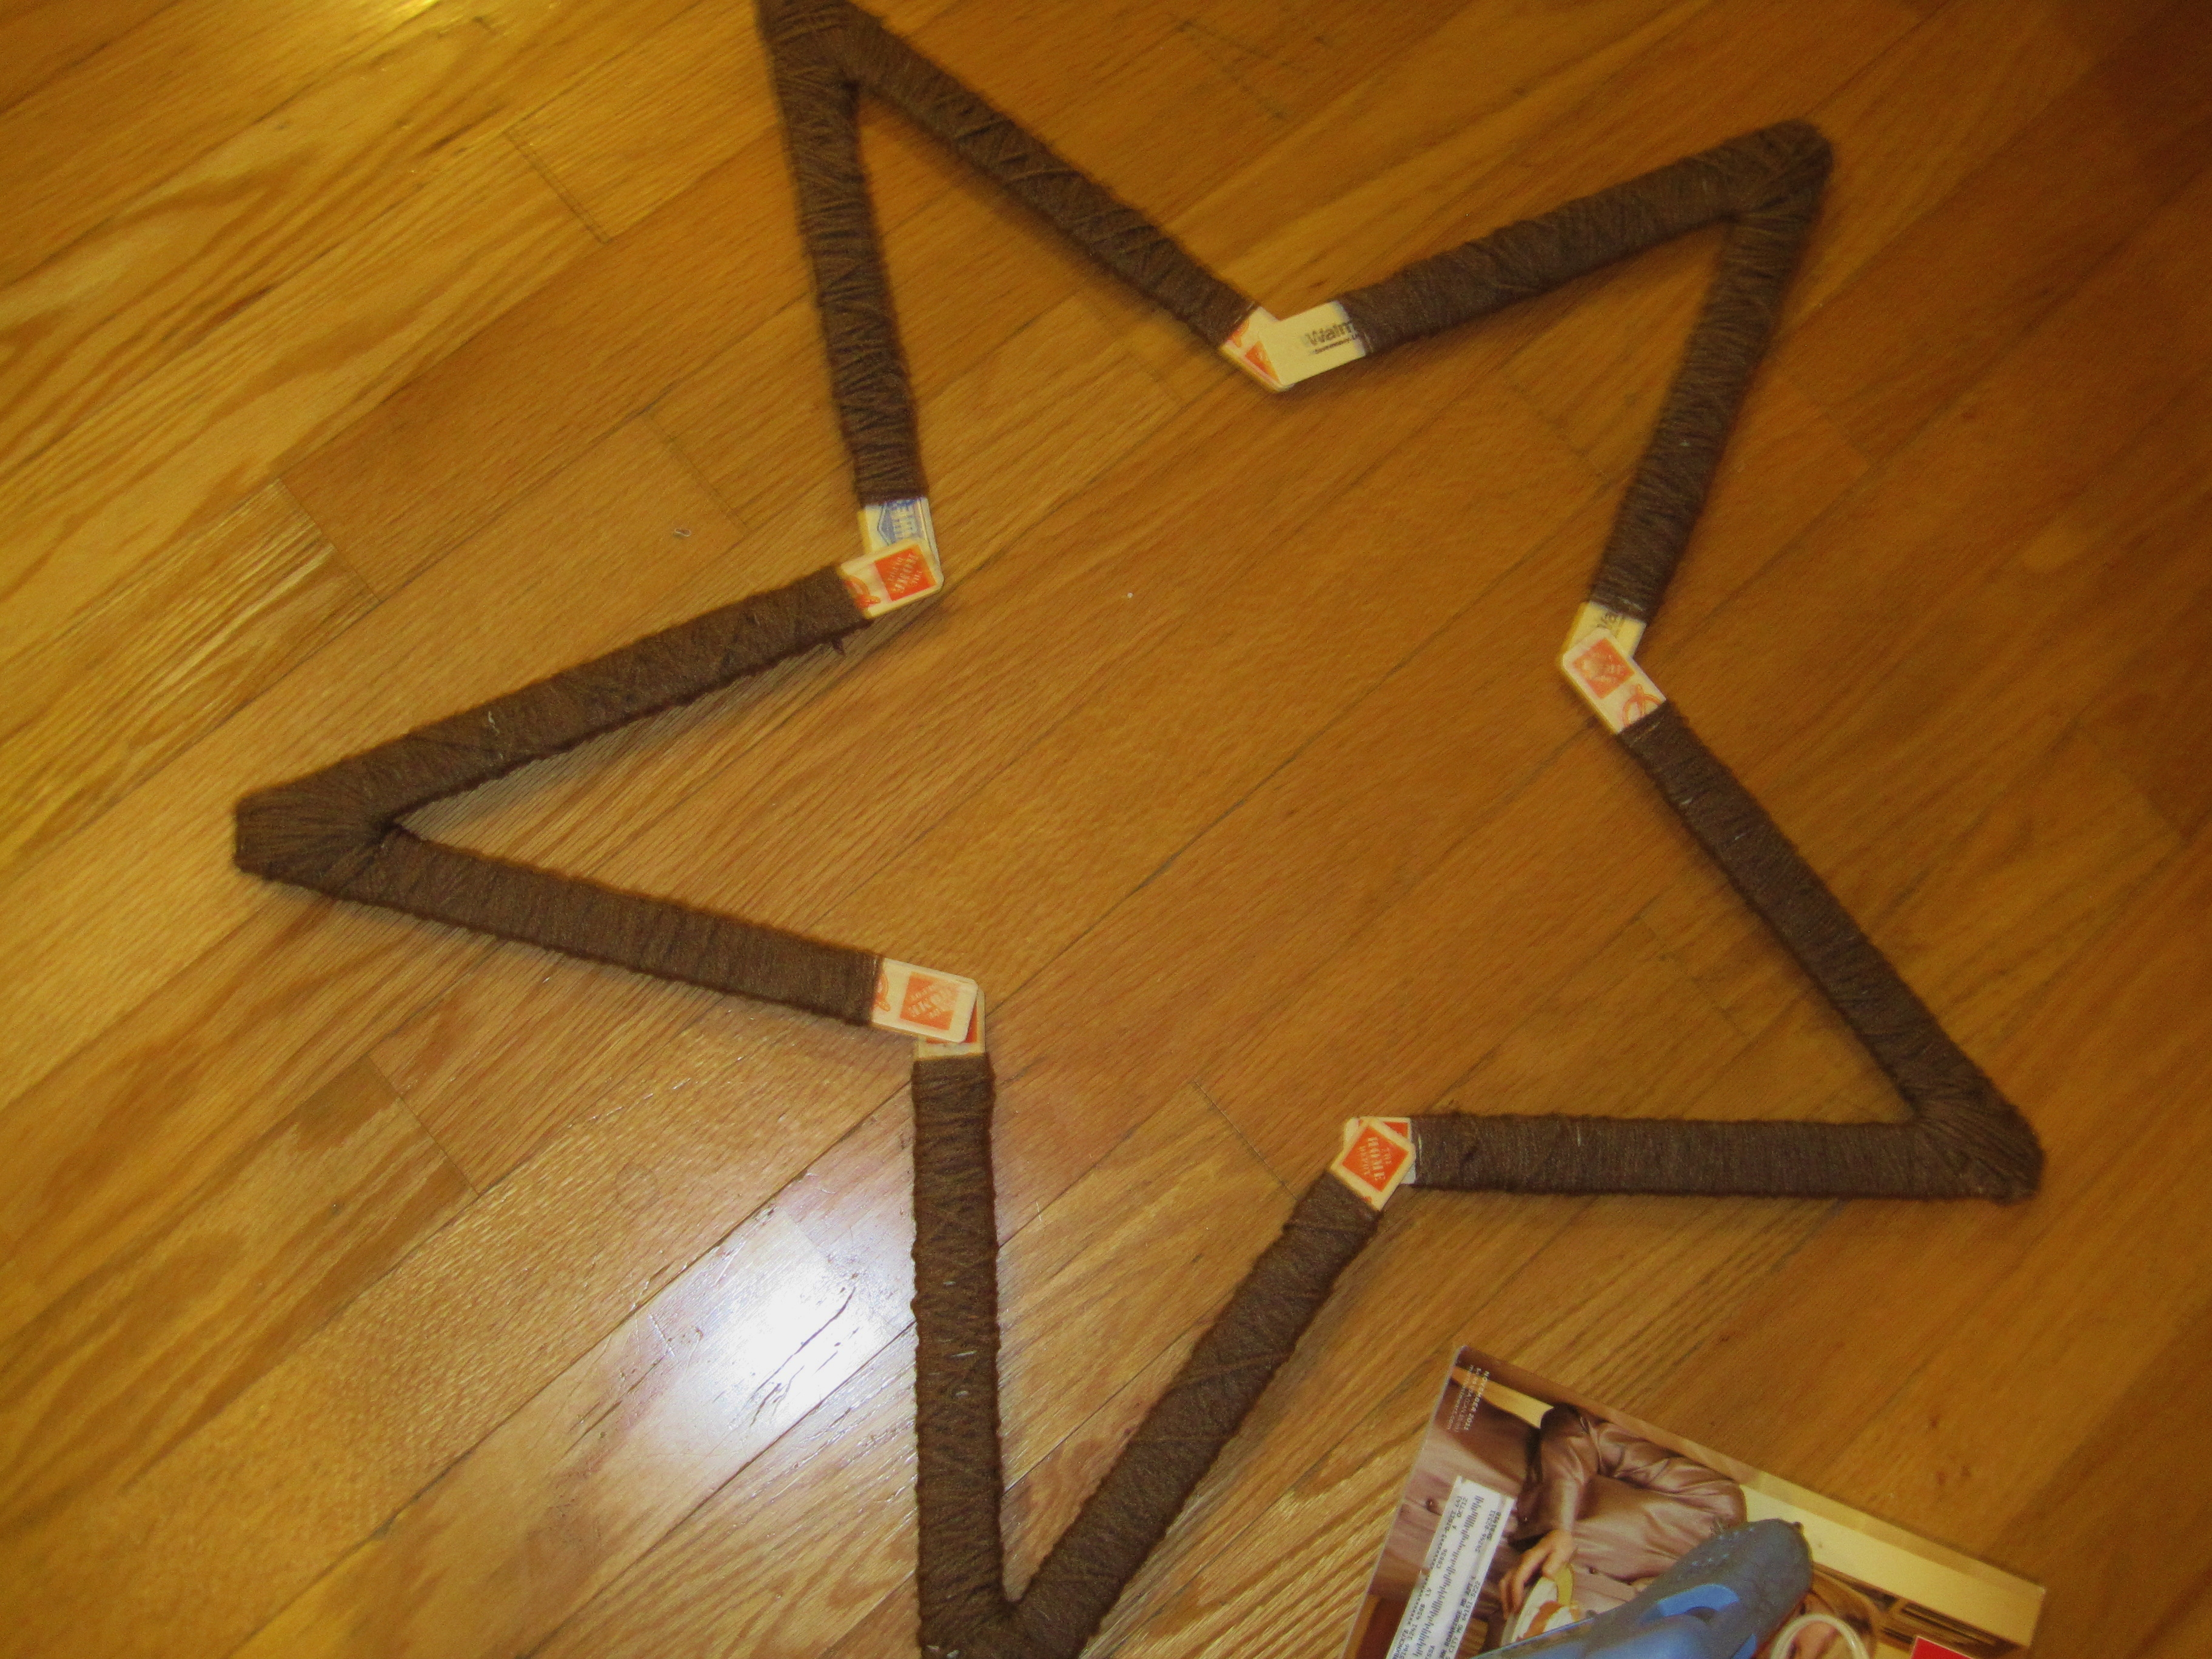
To make this giant star, all you need is glue, yarn and paint stir sticks. (All of which we had, so this project was free for us!) Yup, those free wooden stir sticks you get when you buy a gallon of paint will work perfect for this. Now, since we've recently painted EVERY ROOM in the entire ground floor level of our house, we had plenty of these to spare. (You'll need 10.) If you don't have these just chilling in your paint supply bucket, you can get them at any store that sells paint. They might not give you 10 without buying any paint, but you can ask, and if not, they are usually only a few cents each, or you can use rulers...or other pieces of scrap wood...maybe even cardboard, though it might be a little flimsy. Now, to get started, glue (I used hot glue) the sticks into V shapes. You want them to be as even as possible so your star doesn't come out all unbalanced. Then, just start wrapping them in yarn, like I did for these yarn-wrapped letters. The joints can be a little tricky, but just wrap in all directions and it should cover just fine. You can always use a drop of glue to hold it if you need to. Also, where the stir stick has the "handle," wrap the yarn extra thick so the indention doesn't show on your star. Make sure to leave the ends open because that's where you'll connect them to the other pieces later.
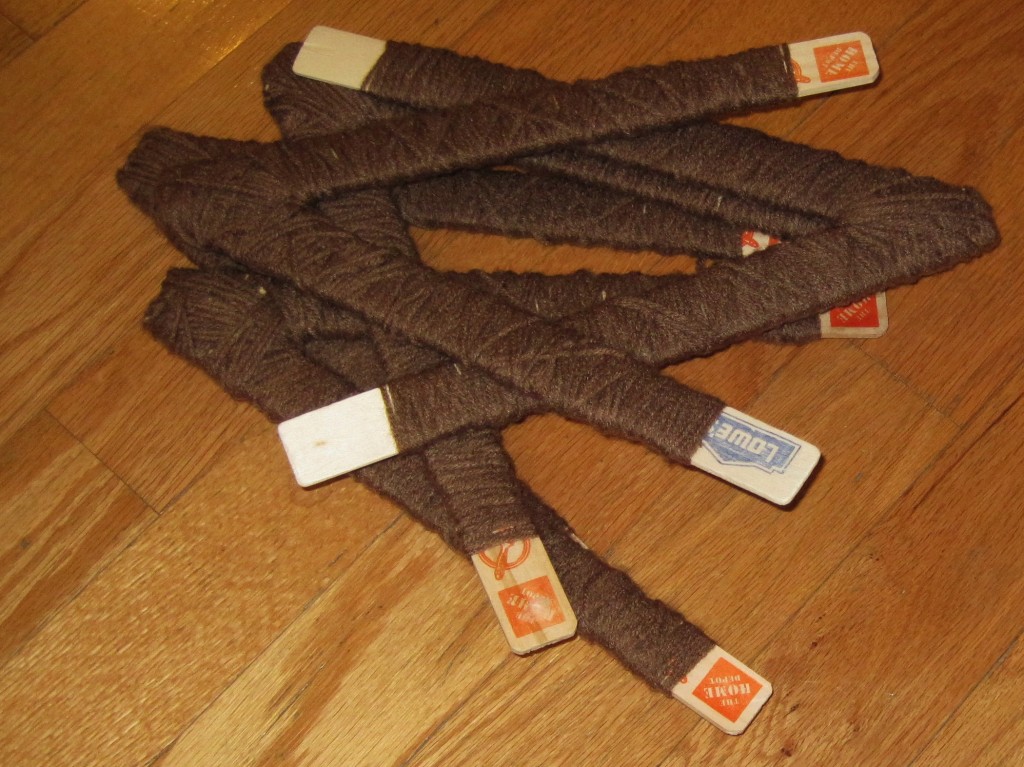
Then, it's time to start connecting them. I would recommend laying them all out on the floor first to make sure everything fits.
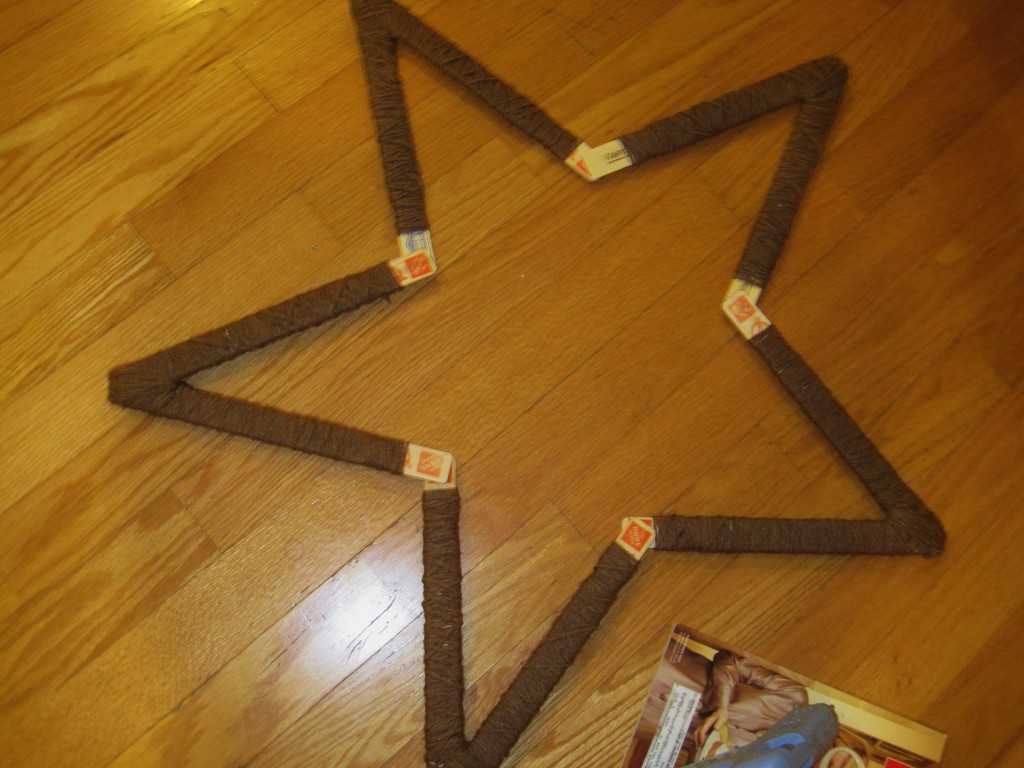
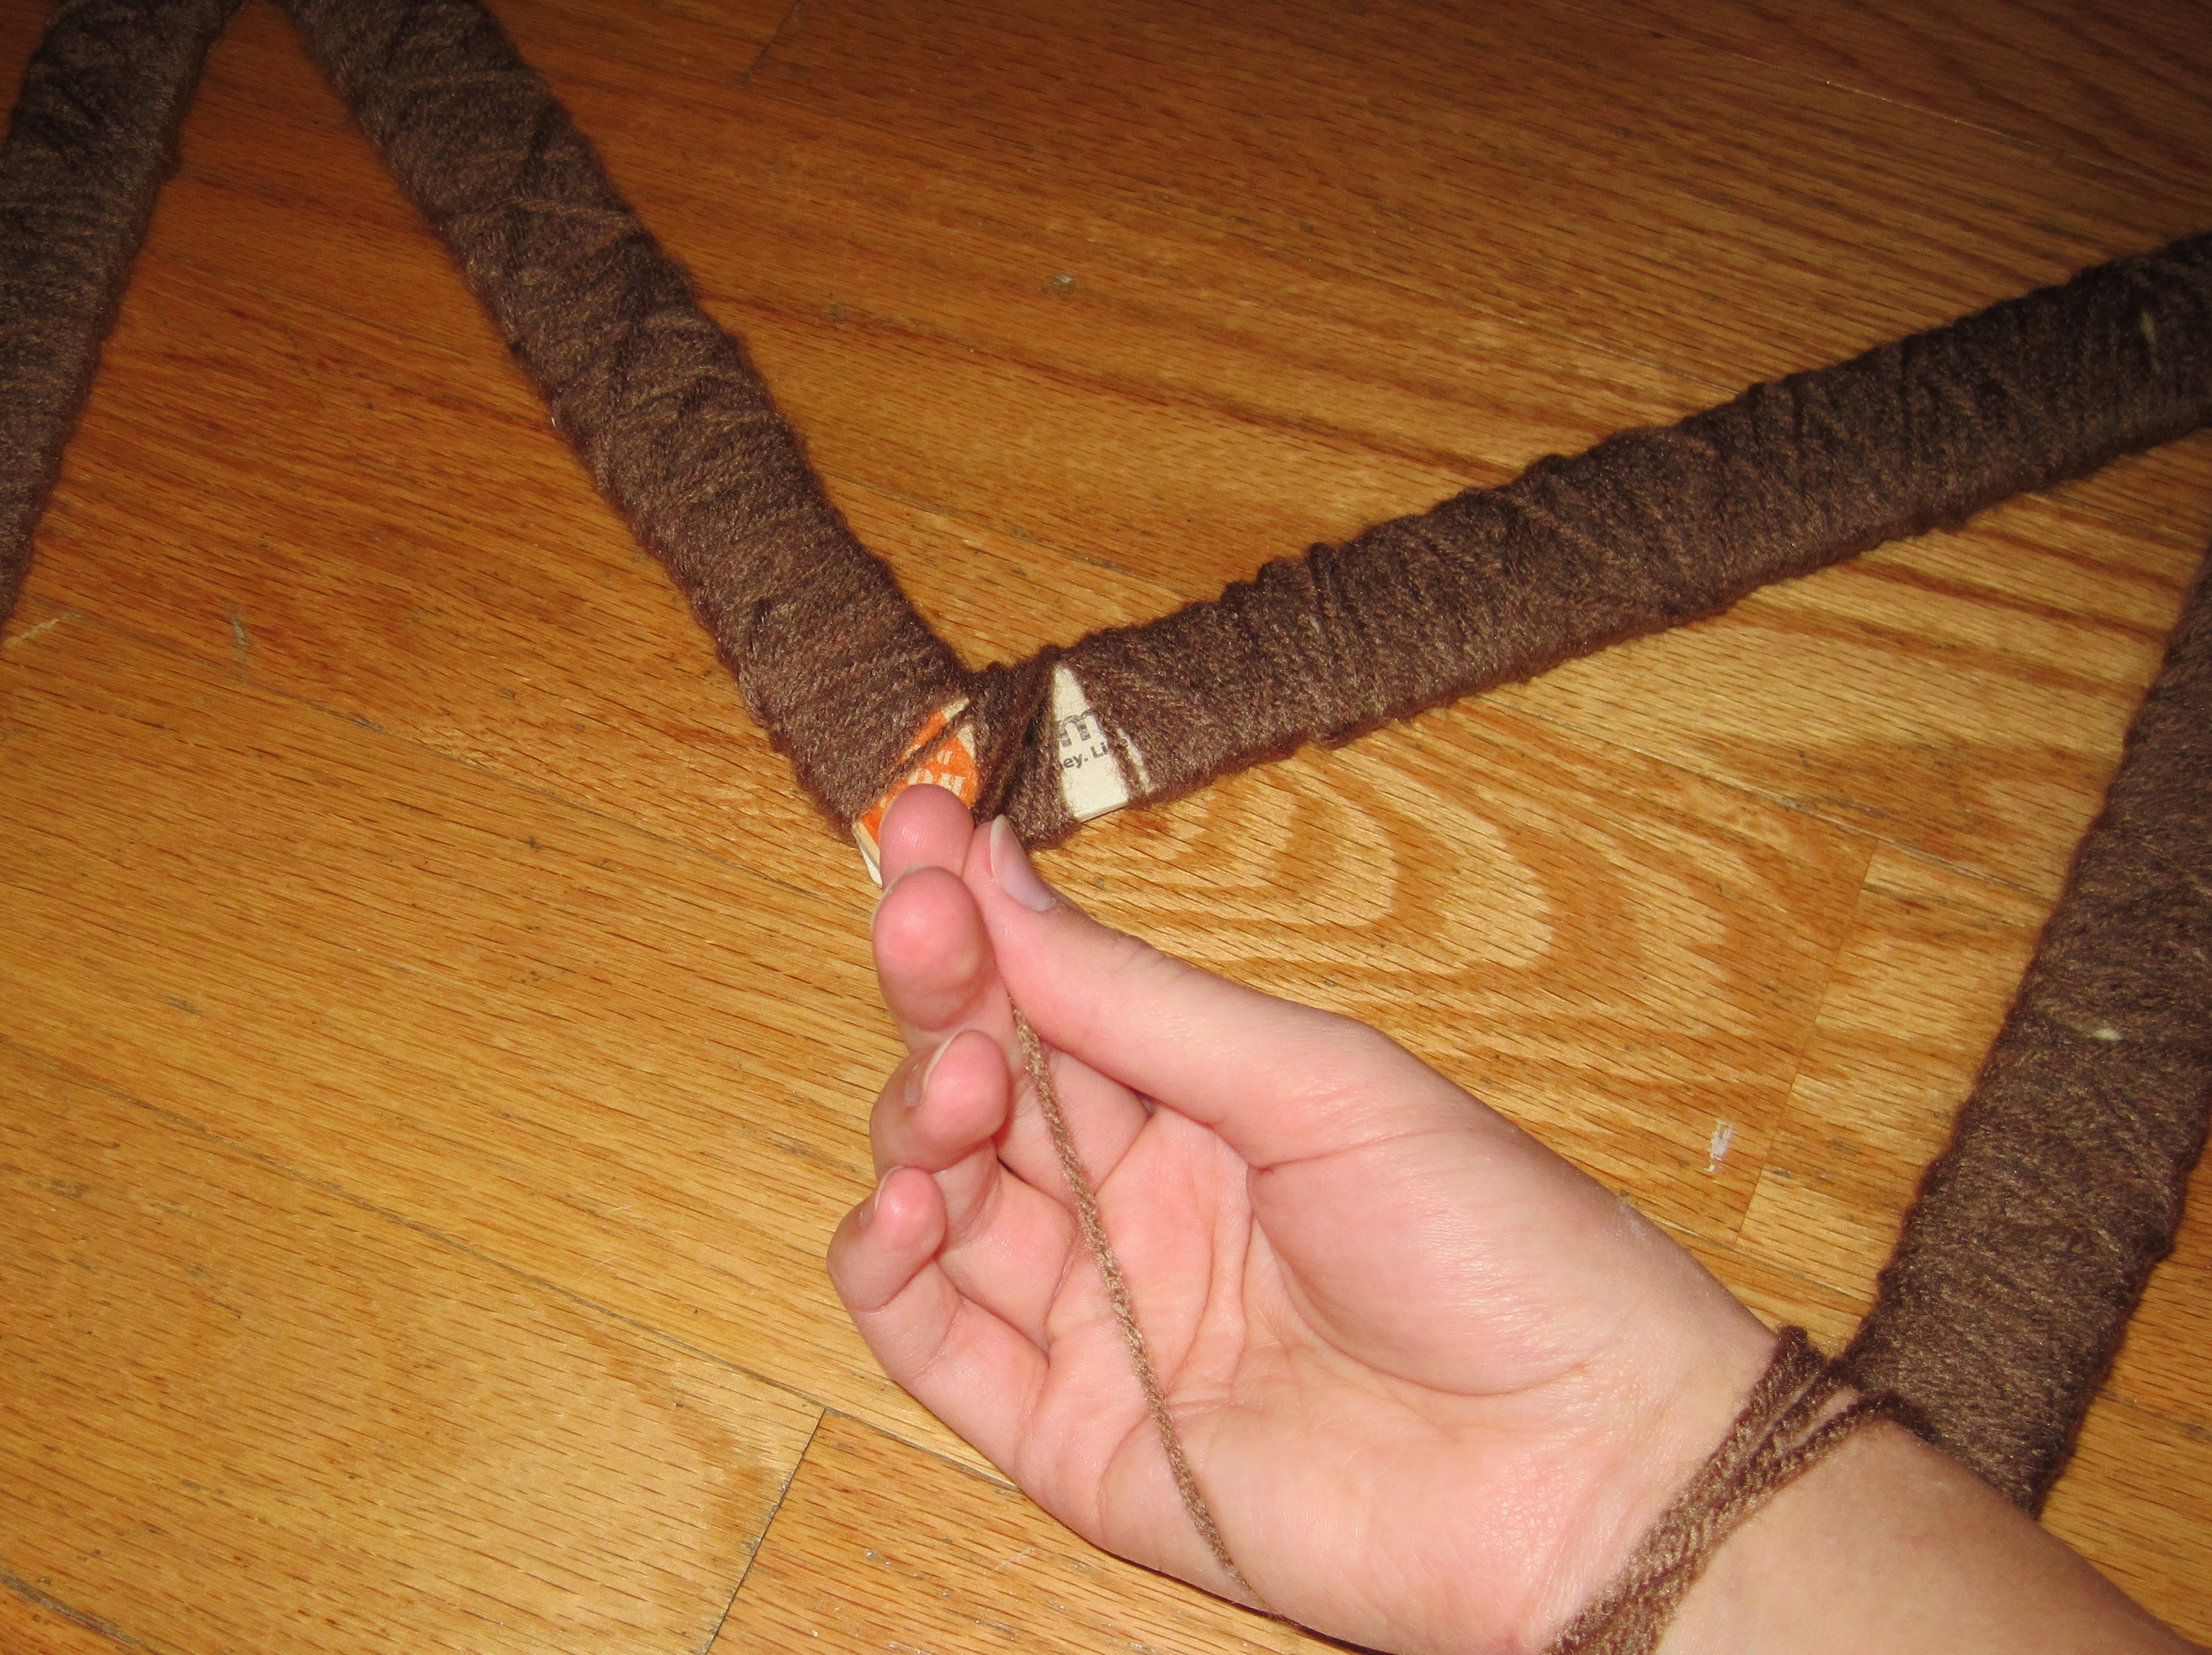
Then, I would only connect a couple at a time (using hot glue again) because the bigger piece you are working with, the more annoying it is to wrap the yarn. It also helps to wrap some loosely around your wrist so it doesn't tangle on the long ends of your star points. It just goes faster.
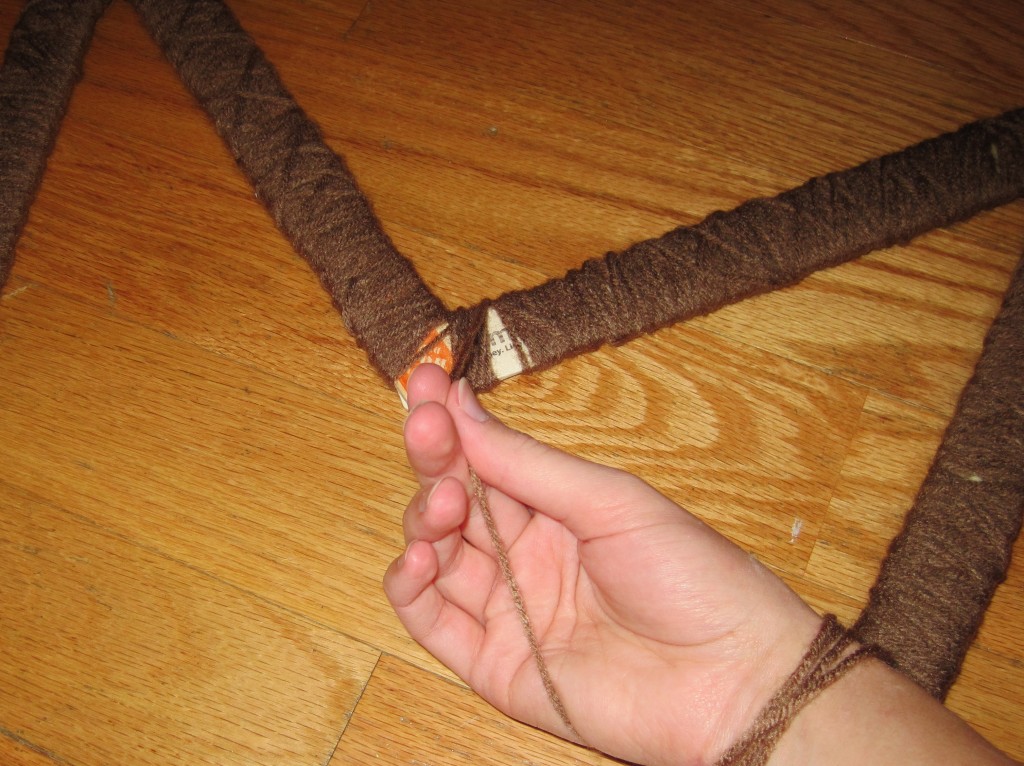
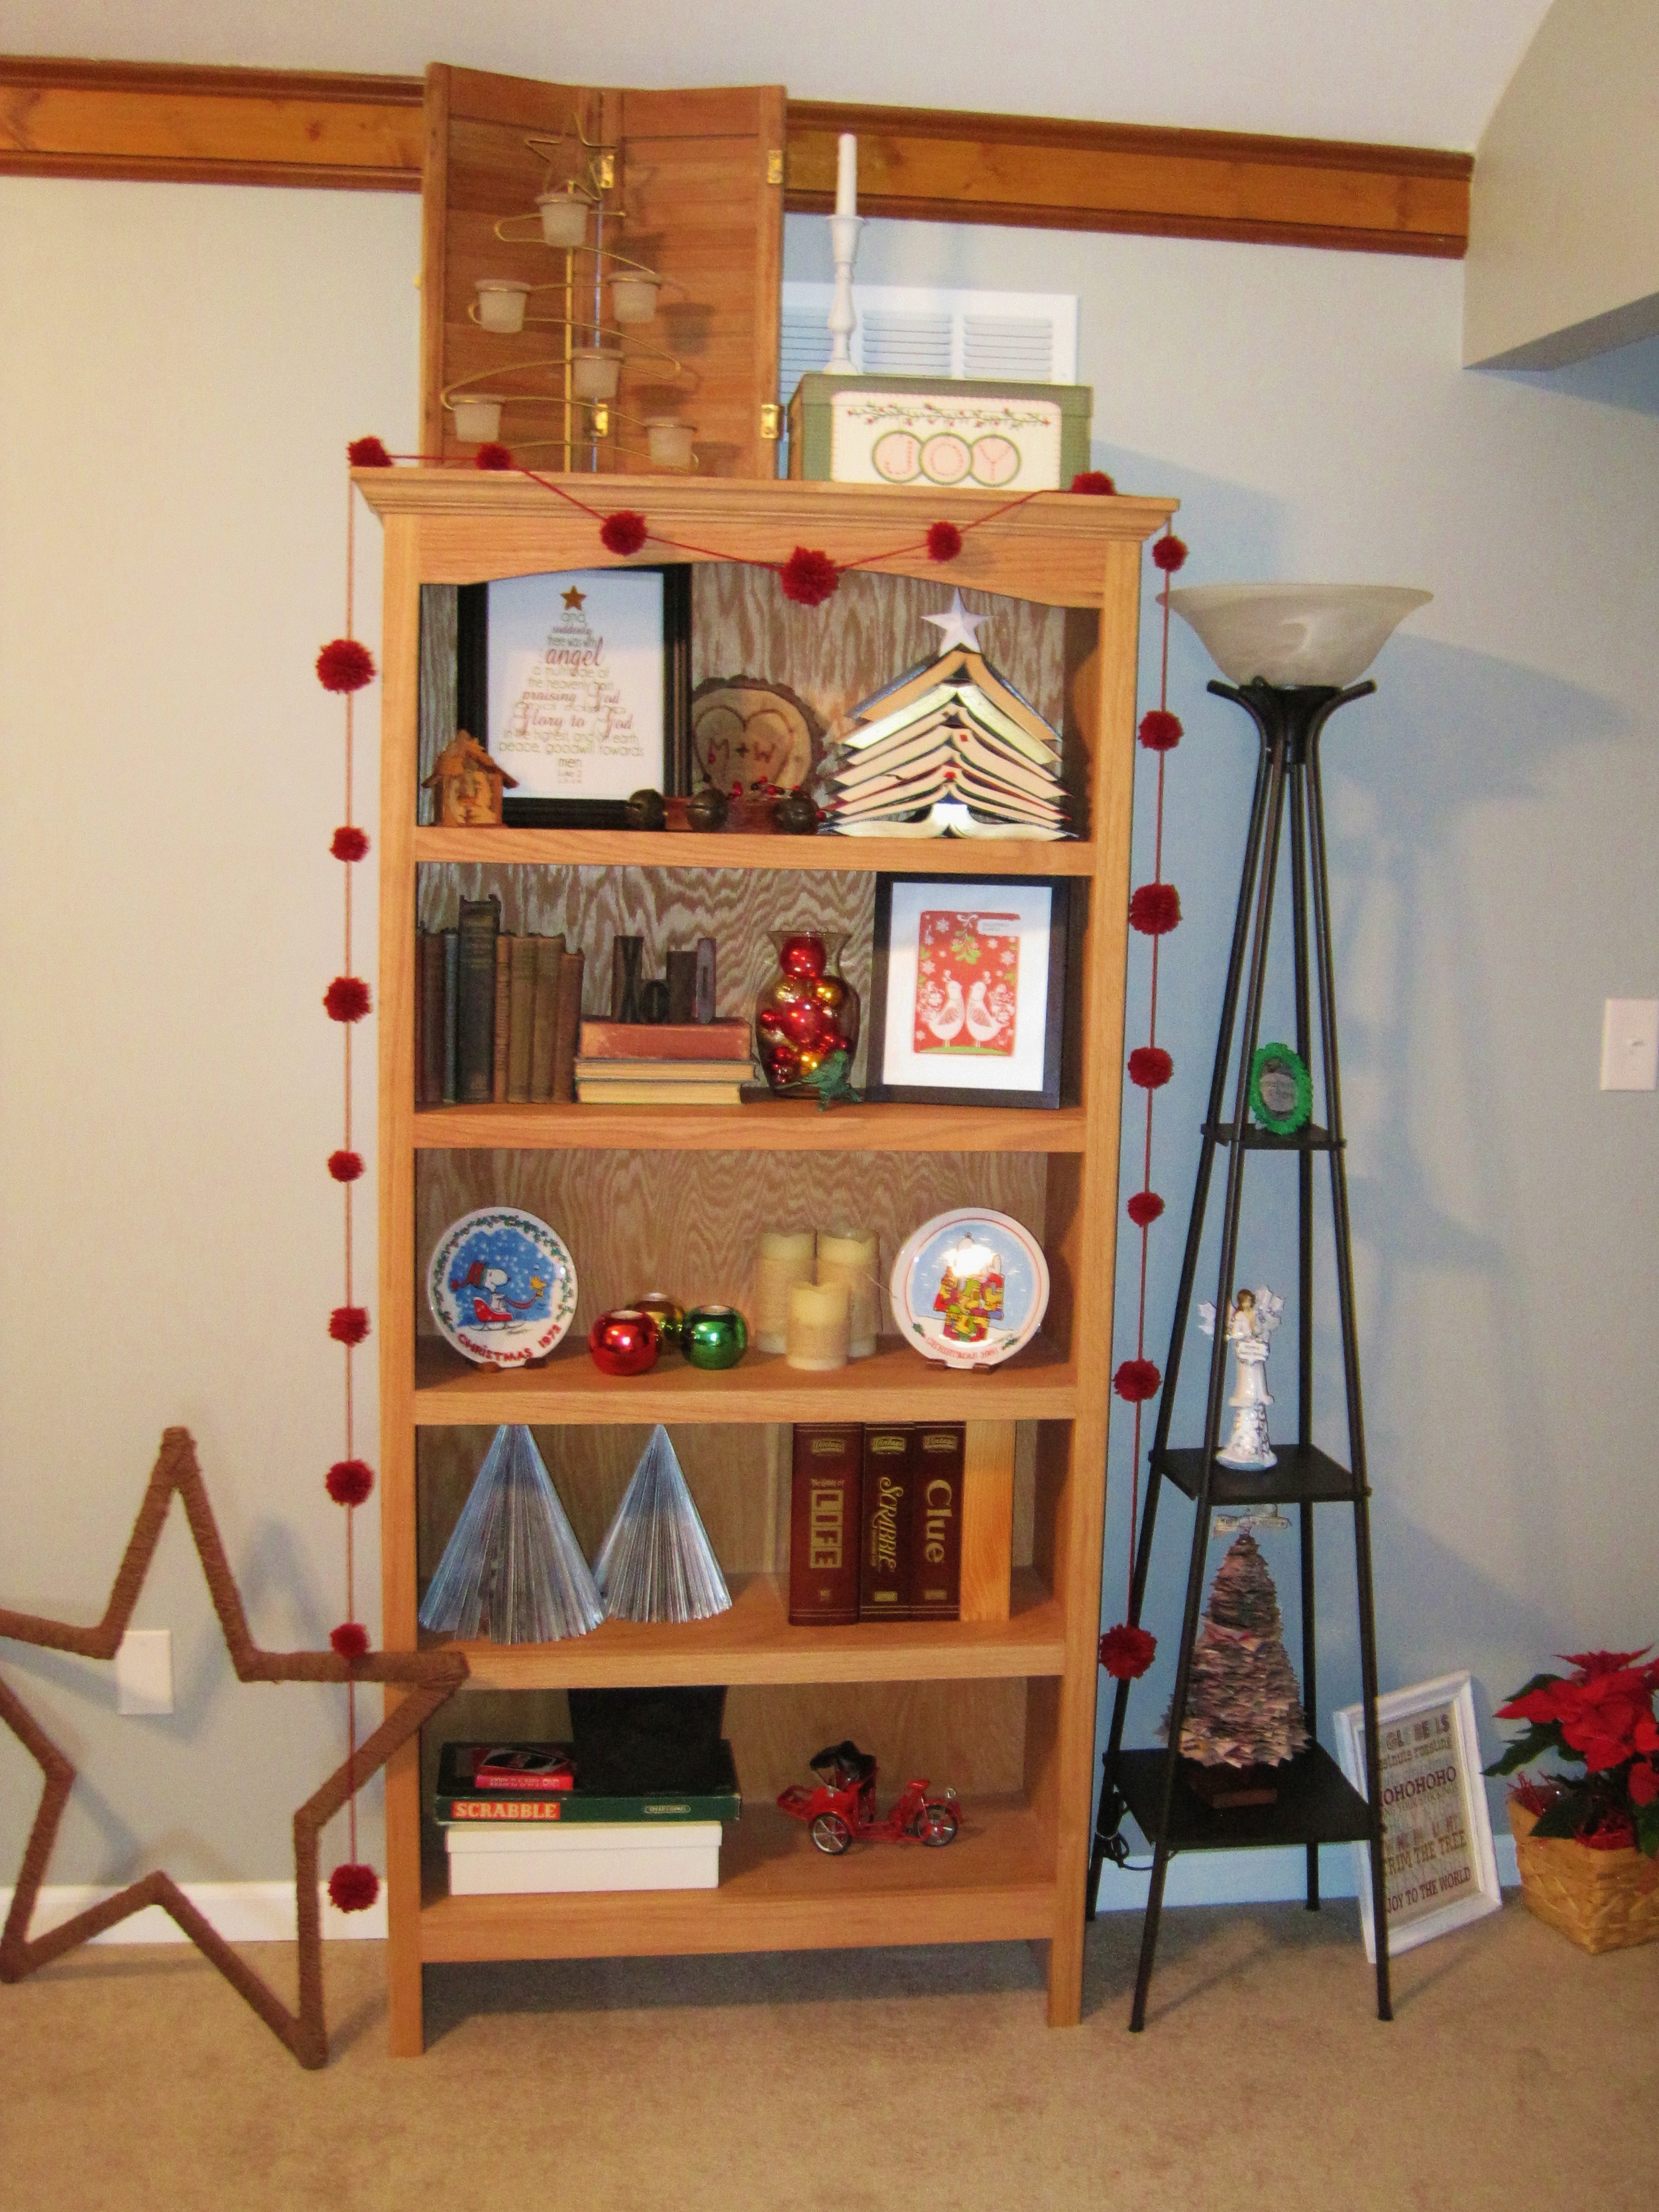
Now of course, the last joint will be a bit unpleasant because you don't have an opening to work with, meaning you'll have to go a lot slower and bring your hand in and around the star each time you make a loop. It's okay, though, because it's only one small area. Don't give up--you can do it! And then, just like that, your star is complete! Easy and cheap right? Now, I'll admit we haven't actually hung this guy yet (we need to go buy some hooks) but for now, he's just chilling around the living room. Here he is over by the bookcase...
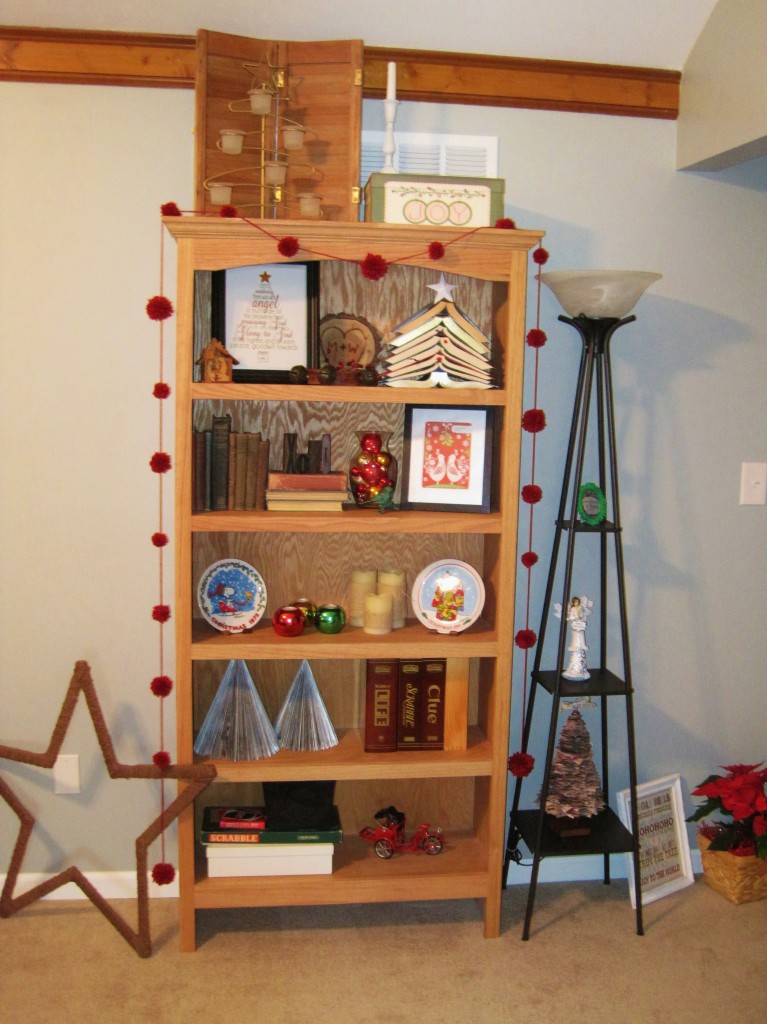
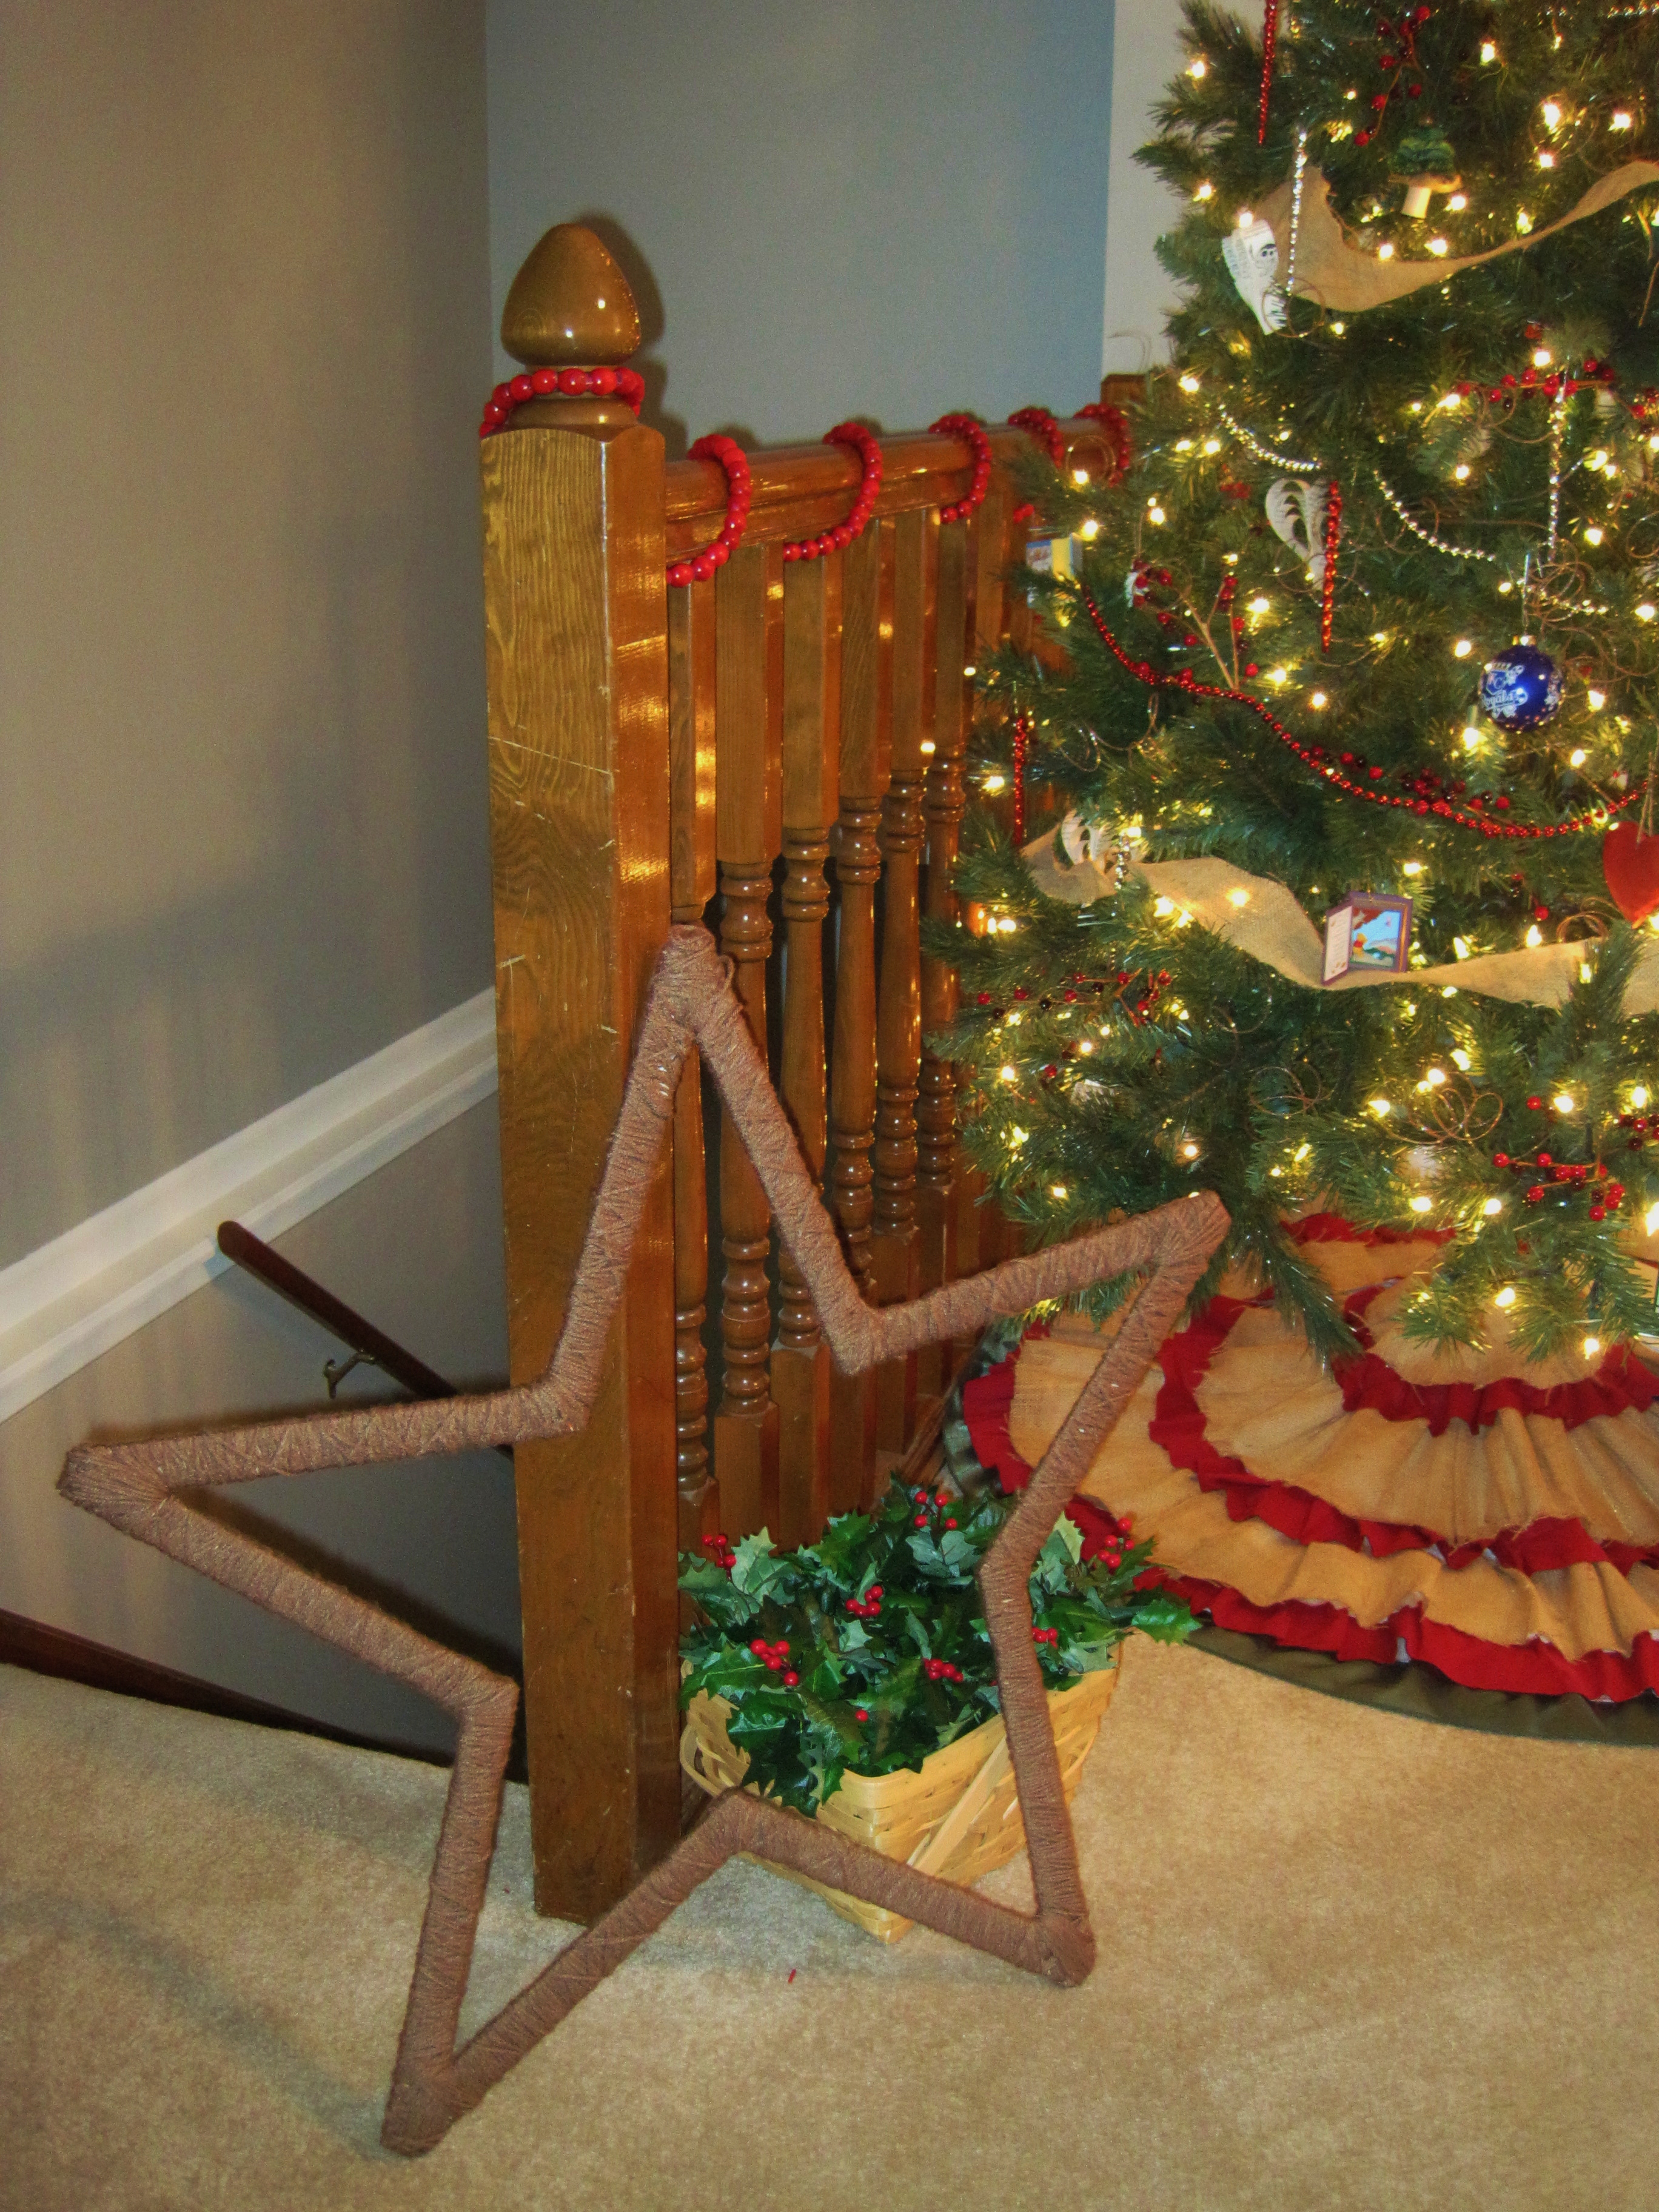
And the tree...
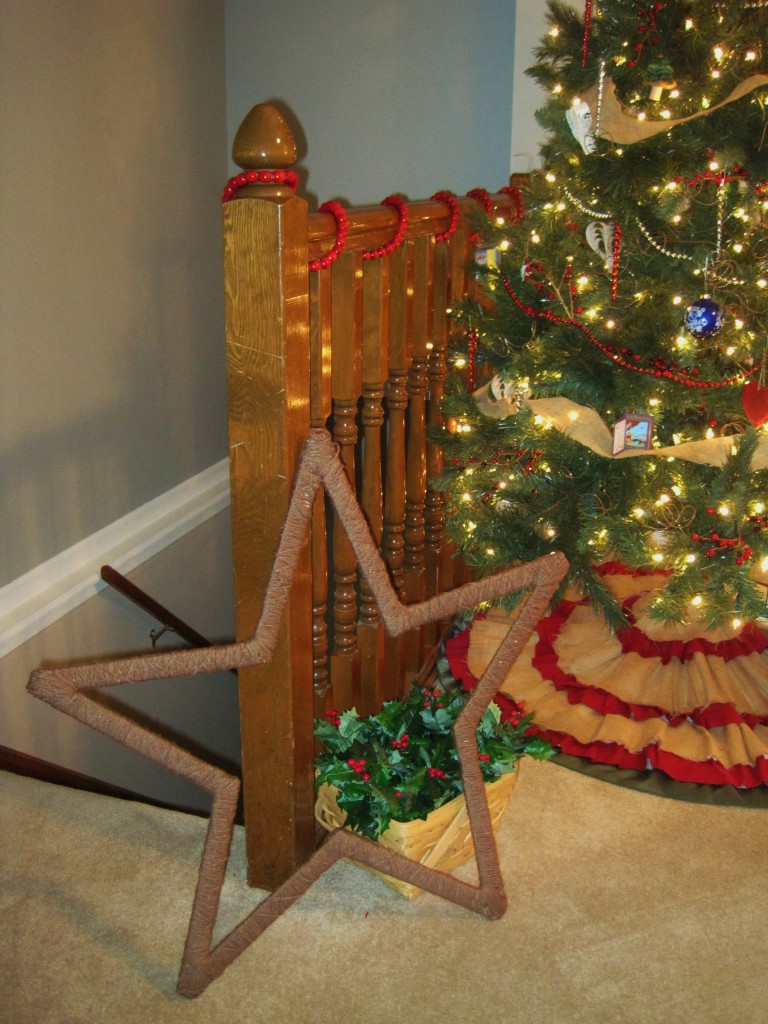
 
I'd love to know what you think about this project. Thanks for reading and letting me share a little of my story with you. Feel free to visit us over at LovingHere.com and see more of my Christmas craft adventures (Plus, there's a free printable on this post!)--I even learned how to use the sewing machine this year!

Isn't that just the cutest!?!?
Thanks Melissa for sharing some of your awesomeness! 
Photobucket

Sunday, August 12, 2012

Insta Sunday

A glimpse into my week...

I crave winter.
My favorite season of the year.
I miss boots, scarves, fireplaces, hot coco and the smell of cinnamon.

I was given my grandmothers sewing machine with so many awesome goodies
just waiting for me to start a new project. Now I just need to lean to sew.

I made this wall and table banner for a friends birthday. 
I was pretty excited the way they turned out.

I blogged about my new favorite Starbucks coffee: Tall Skinny Peppermint Mocha
Next thing I knew, my husband surprised me with one at work. I adore him so much.

We officially have a sophomore. That's right, first day of school this week for
our oldest Rachel. I just realized she learns to drive this year. Freaking out? Yes!

Ended the week with a beautiful bouquet of red roses 
delivered to me at work. My husband spoils me rotten. :)

Happy Sunday and remember to SHINE!


Photobucket

Sunday, May 6, 2012

Festival Fever Outdoor Fun Link Up


Yes, it's that time again when we can picnic, spend time outside, go camping, enjoy music festivals, carnivals and outdoor sports. It's time to glam up the outside living space and prepare for barbecues and lots of fun. Link up any projects that make the outdoors fun; these could be games, summer fashions, foods, whatever goes!


I am really excited to be co-hosting this weeks link up with
HOST Rosie @ Craftbotic (BLOG/TWITTER)
& fellow co-host Katlyn @ Dreamy Meadow  (BLOG/TWITTER)

Some rules:

1. Please follow your host and the guest co-hosts for the week (links above).
(If you want to co-host email Rosie: 12craftsofcrimbo[@]gmail[dot]com)

2. Display the button somewhere on your blog!


3. I'd appreciate a Tweet Out or mention on your blog encouraging people to join in.
The more the merrier!
4. Please only link up your projects: no pinterest items, shops or your own parties please.  If you want Rosie to feature your shop or party - just drop her an email!

So, let's get the Festival Fever season started.  I am really excited to see what you will be making!


Thursday, May 3, 2012

Fantabulous Friday Link Up!

Happy Friday!! Welcome to Fantabulous Friday#11. I hope you all had a great week. This week weeks Meet & Tweet was a HUGE success! I linked up with Absolute Mommy for her WIW Wedding Edition, had my blog turn into a Mother's Day Shopping Mall, hosted my Colossal End of April Group Giveaway,  had Mom2MemphisAndRuby guest post, and announced this weeks photo challenge theme: My Heart.

That was a workout just typing! 

Well today I'm super excited that I was invited to be the co-hosting with Little Becky Homecky's Fantabulous Friday! She is one crafty lady! Check out her blog to see some of the amazing things she creates and wonderful thinks she bakes. I defiantly need some lessons!


There was a little giveaway included in last week's link up! One of you won XL Premium Ad space from Little Becky Homecky for the remainder of May....and that person is......Kate from Cheap Crafty Mama! Congrats!!

Last week, the person with the most viewed link last week was..... Lizy B Bakes shared these amazing Mix 'n' Match Robot Cookies. Seriously? I would kill to be able to make cookies like this...I do not have a steady hand at all and mine look crazy! :) What amazing projects have you been working on this week?? Link them up!!

Guidelines
1. Please link directly to your post and NOT just to your blog's homepage.
2. Please grab the Fantabulous Friday button to post somewhere on your blog.
3. Follow Little Becky Homecky and Our Reflection via Hello Cotton, Blog Lovin' or Linky Followers.
4. Try to visit at least one other link and show them some love!! We all love comments!

Tuesday, January 24, 2012

Framed Button Heart {Getting Crafty}

This week we got a little crafty {totally out of the "norm" for us}. We do a lot of baking in our house but when it comes to arts and crafts, sewing, putting things together with our own hands, it just doesn't happen. Who would have thought this simple craft project would totally changed my way of thinking. I don't have to be an artist or seamstress to do these things with my kids. We'll learn together {and probably laugh A LOT along the way}! I treasure those moments I can spend one-on-one time with my daughters. Sometimes I need to remind myself, everything else can wait, family comes first. My kids are growing fast and if you don't take the time now, I might not get that chance again. Gosh, I never intended this post to turn into a cry-fest {as tears run down my face}.
Framed Button Heart {Under $5.00}
Pin It
Don't get overwhelmed by all the photos. I'm a photographer so sometimes it gets the best of me. {I seem do better visually that verbally.}

Here is what you need:
  • Frame {you can get from the dollar store}
  • Buttons {we purchased from an antique store for $2.00}
  • Fabric {we used an old scarf from the antique store for $1.00 or burlab fabric would work}
  • Cardboard {we cut an manila folder in half}
  • Hot Glue Gun {any super glue would work}
First we spread everything out and warmed up the glue gun.
 Opened up our piece of material, put the piece of cardboard in the center and
cut around the cardboard, leaving 2" of extra fabric around each side.
We then used the hot glue gun and glued the fabric around all the edges. 
{Yes I burnt my finger!} Our first laugh of the project. 
 We then opened the frame, removed the glass, inserted the fabric covered
piece of cardboard, and put the frame backing back on.
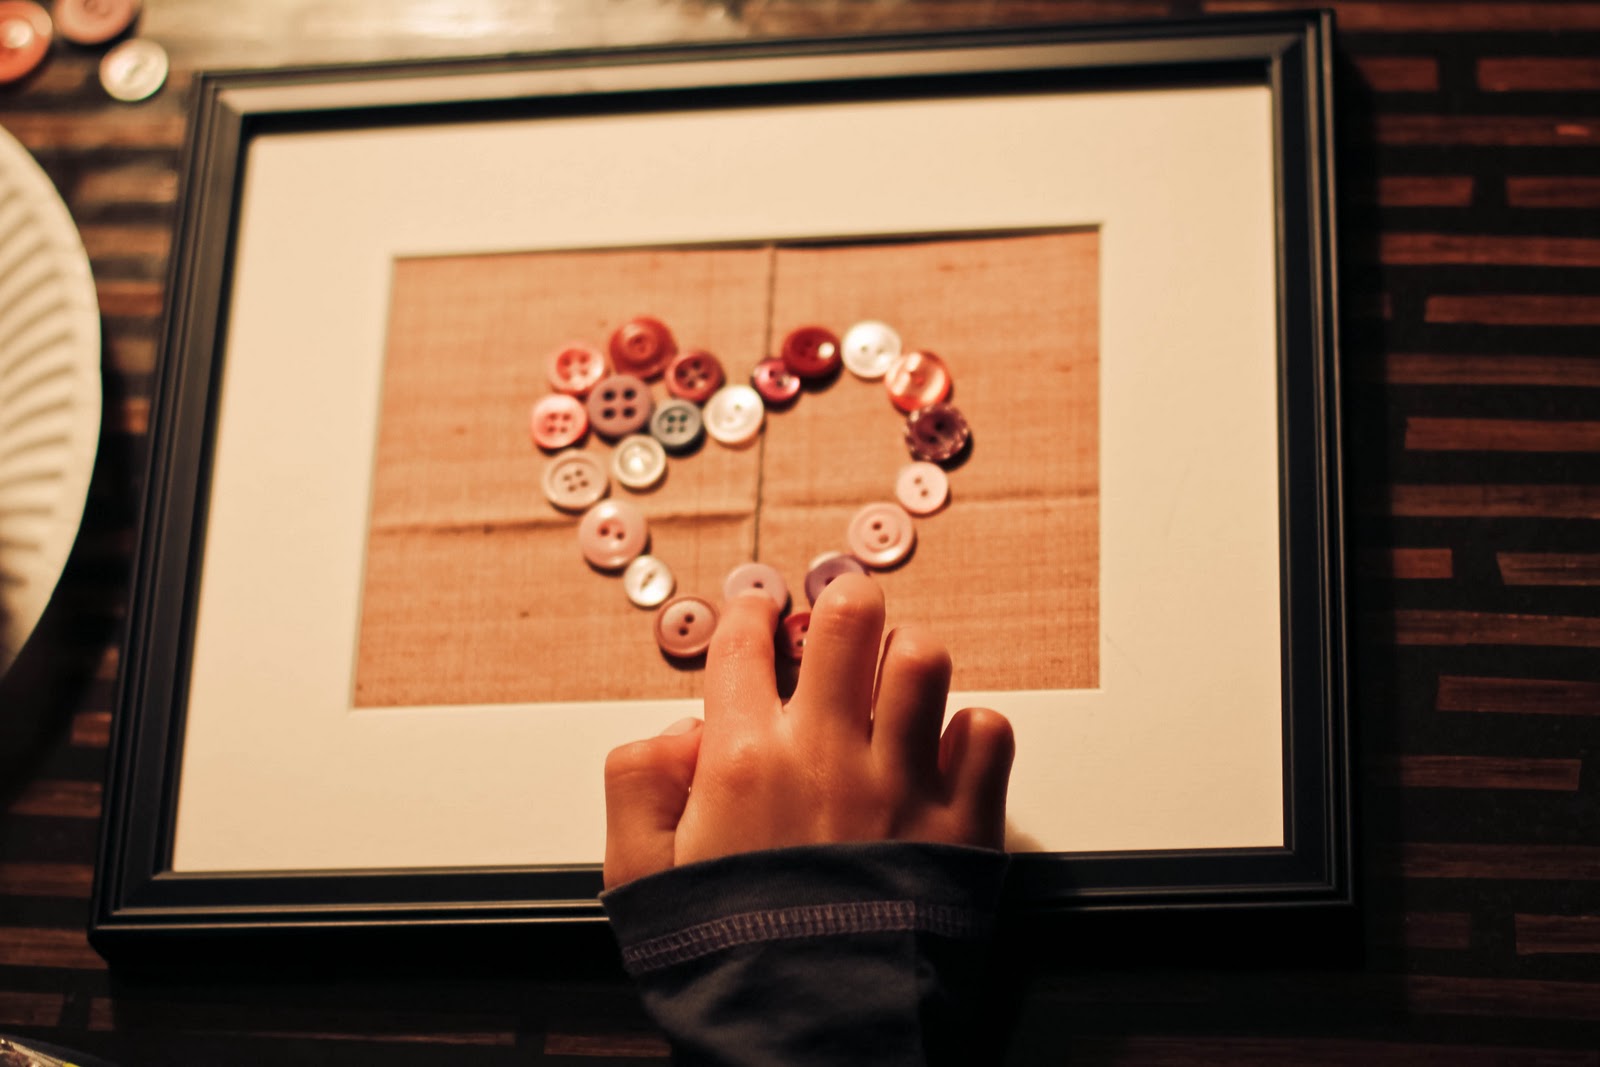
 Then the fun crafting started. I had my daughter Charlie (age 6), choose any
buttons she wanted to use and make an outline of a heart in the center of the frames opening.
We chose pink since this was a Valentine's project.
Once the heart outlined was created, I had her start filling in the middle.
 She was so engrossed this project. I loved her attention to detail.
 After a little rearranging, the heart was complete.
 Then I stepped in with the hot glue gun and began gluing the
buttons down exactly where she had placed them.
 Charlie is just as particular as me, she corrected every millimeter I was off. Again we
were laughing hysterically until we both couldn't talk and tears we running down our faces.

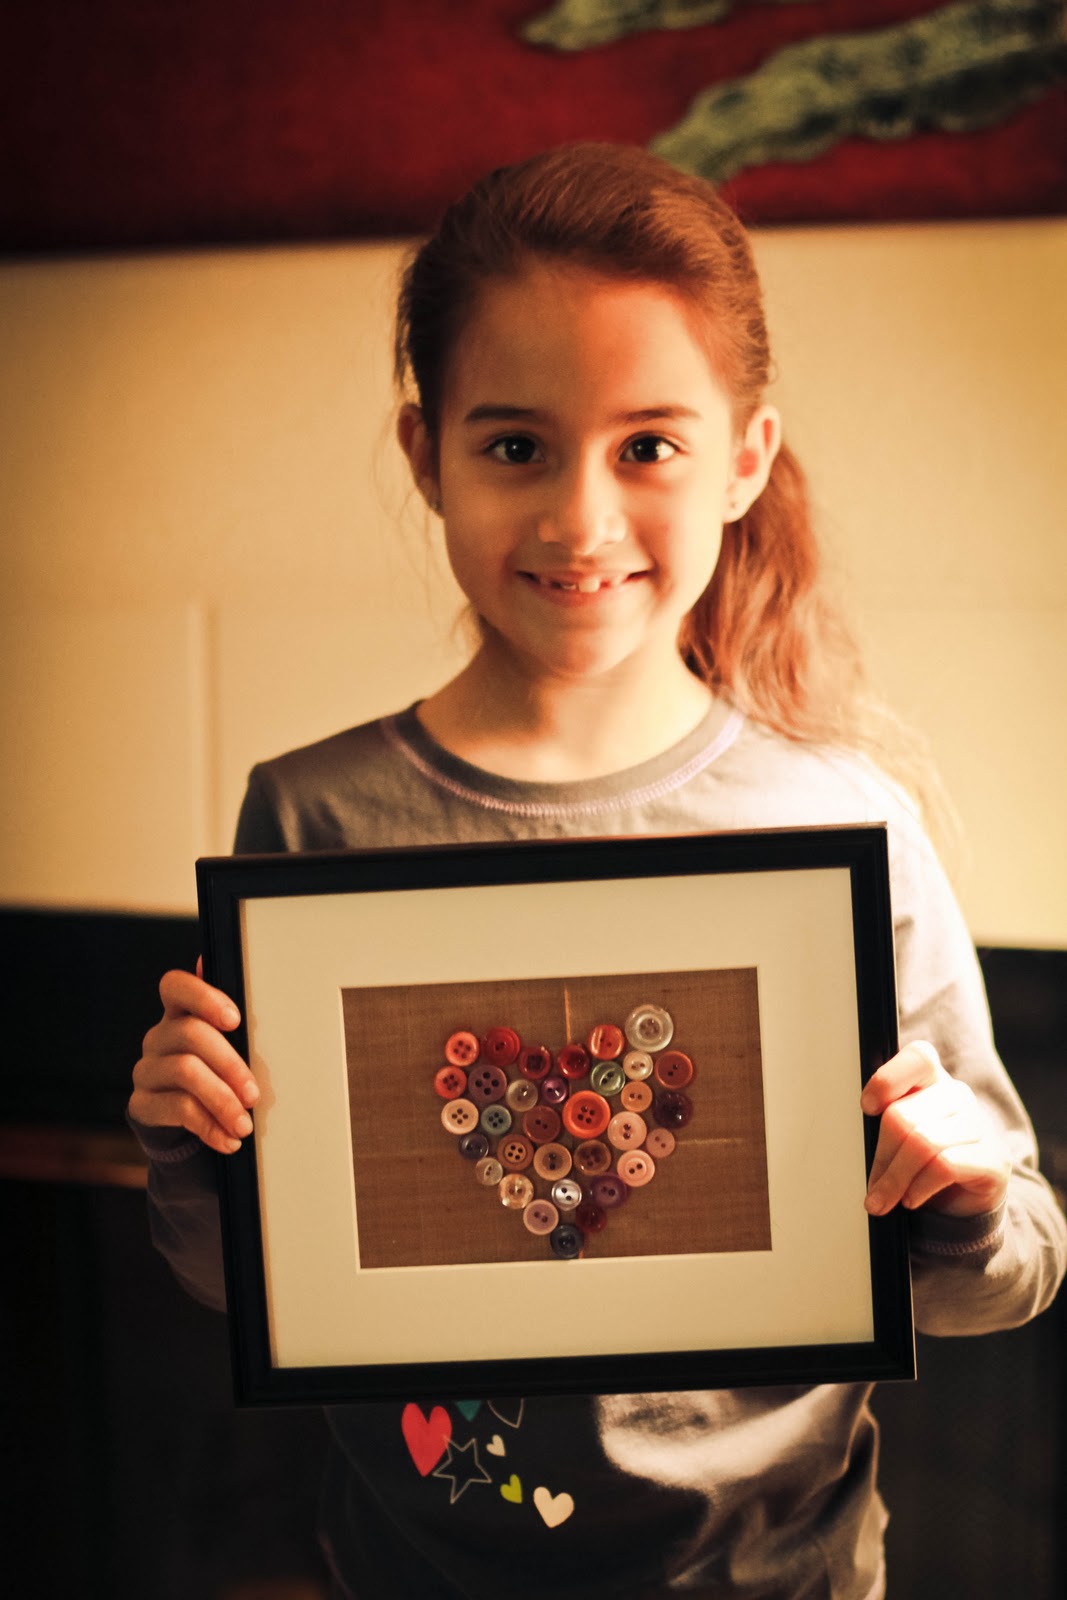
 And voila, our master piece was complete.  Miss Charlie was so proud of her work
{as she should be, it turned out beautiful}.
It now has a permanent spot in our living. The heart is a constant reminder of the love of our family and for me personally, to take more time for the little moments.
And for all your not-so-crafty moms like myself, I hope this was found helpful.

Now let's go get our crafty on!
Join in our DIY Valentine's Craft Link Up Party!

Don't forget to follow up on Facebook & Twitter!

Blessings,


Our Reflection
Related Posts Plugin for WordPress, Blogger...