Hi! My name is Melissa and I blog about making our house into a home over at
LovingHere.com (with my Hubs who occasionally will pop in with a
post on woodworking or something of the sort).
Now that Christmas is so close, I've had this huge desire to make our first Christmas in this house (we lived in an apartment last year so this is extra special--our first house ever!) especially beautiful.
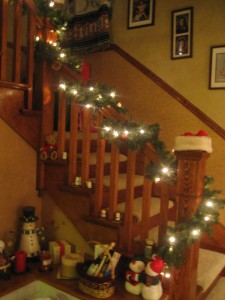
Plus, I grew up in a household that really decorated for Christmas with a big tree, garland on the stairs, wreaths, candles, snowmen, toy trains--all so beautiful!
That's my parents' house on the left--so pretty and festive. And I wanted our home to have that special, exciting feel, too!
If you're like me, even though small, sparkly ornaments and pretty garlands are fancy and festive, you find that sometimes it takes a bigger piece to really make an impact on a room.
Unfortunately, those larger decorative items can cost a lot!
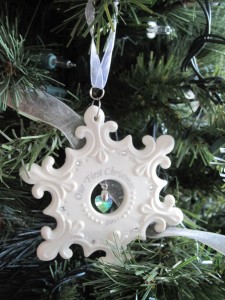
As a not-so-newlywed (going on 2 years now), we don't have a lot of decorations, nor do we have the budget to go out and stock up on all things red, green, and sparkly, no matter how lovely they are (like the ornament Hubs got me last year for our first married Christmas).
Plus, I find making crafts at Christmastime to be therapeutic, peaceful, and just plain perfect for putting me in the mood for this sometimes-energy-draining-yet-still-magical time of year.
So, I wanted to share with you an idea I had for making a large Christmas decoration for almost no money. (I like the sound of that!)
I starting thinking that I wanted something large to hang above our mantle, or maybe on the opposite wall of our living room (we have faulted ceilings, which leaves a big, triangular-shaped open space to hang something). Artwork was going to be $100 or more for something we liked, so we've just been putting it off to make something ourselves.
I was fine with waiting because we've been so busy doing other,
bigger (
and smaller) projects around the house since we moved in a few months ago. When I started decorating, though, I got impatient and set out to make something I could hang up there temporarily. Here's what I came up with:
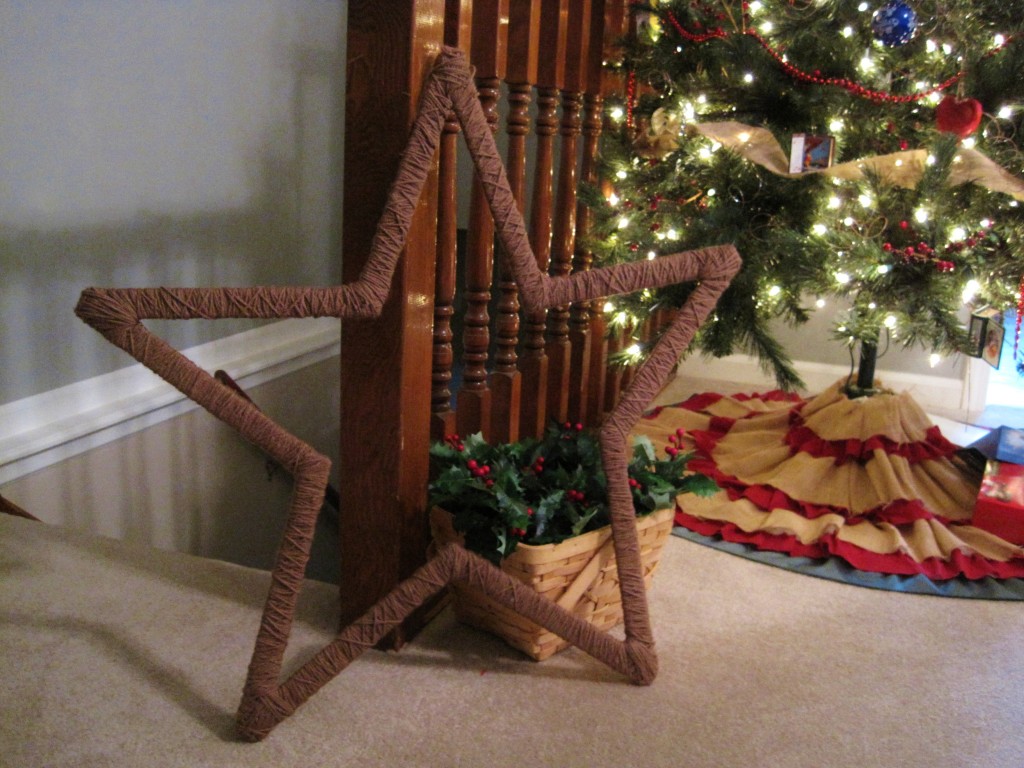
To make this giant star, all you need is glue, yarn and paint stir sticks. (All of which we had, so this project was free for us!)
Yup, those free wooden stir sticks you get when you buy a gallon of paint will work perfect for this. Now, since we've recently painted EVERY ROOM in the entire ground floor level of our house, we had plenty of these to spare. (You'll need 10.)
If you don't have these just chilling in your paint supply bucket, you can get them at any store that sells paint. They might not give you 10 without buying any paint, but you can ask, and if not, they are usually only a few cents each, or you can use rulers...or other pieces of scrap wood...maybe even cardboard, though it might be a little flimsy.
Now, to get started, glue (I used hot glue) the sticks into V shapes. You want them to be as even as possible so your star doesn't come out all unbalanced.
Then, just start wrapping them in yarn, like I did for these
yarn-wrapped letters. The joints can be a little tricky, but just wrap in all directions and it should cover just fine. You can always use a drop of glue to hold it if you need to. Also, where the stir stick has the "handle," wrap the yarn extra thick so the indention doesn't show on your star.
Make sure to leave the ends open because that's where you'll connect them to the other pieces later.
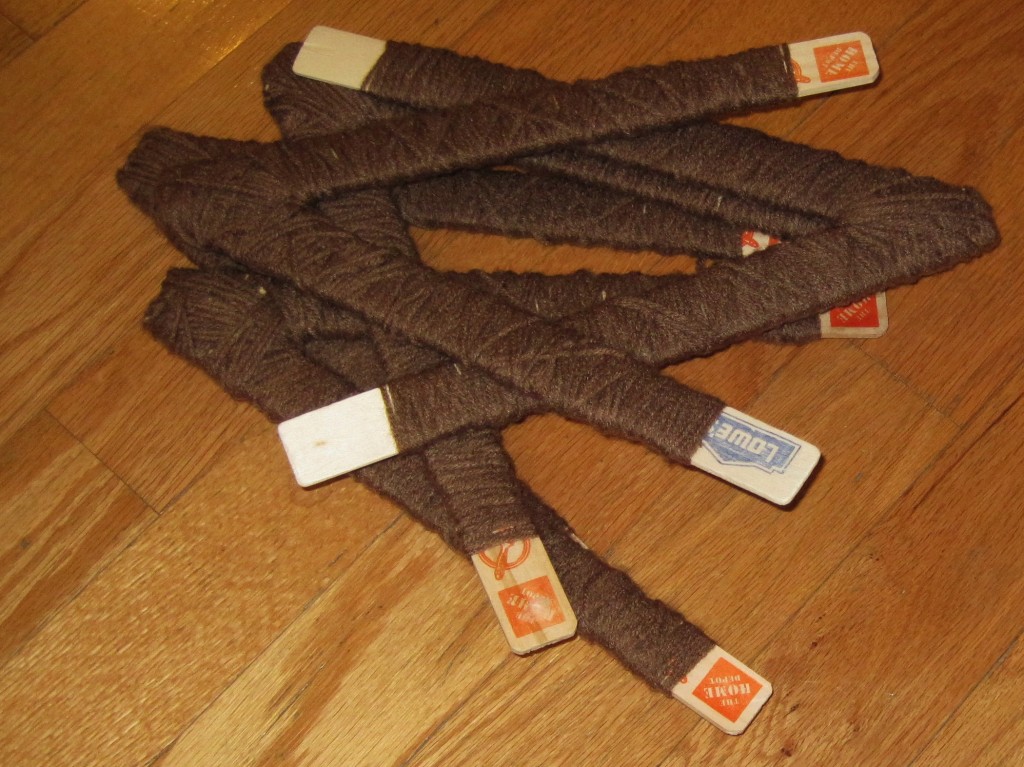
Then, it's time to start connecting them. I would recommend laying them all out on the floor first to make sure everything fits.
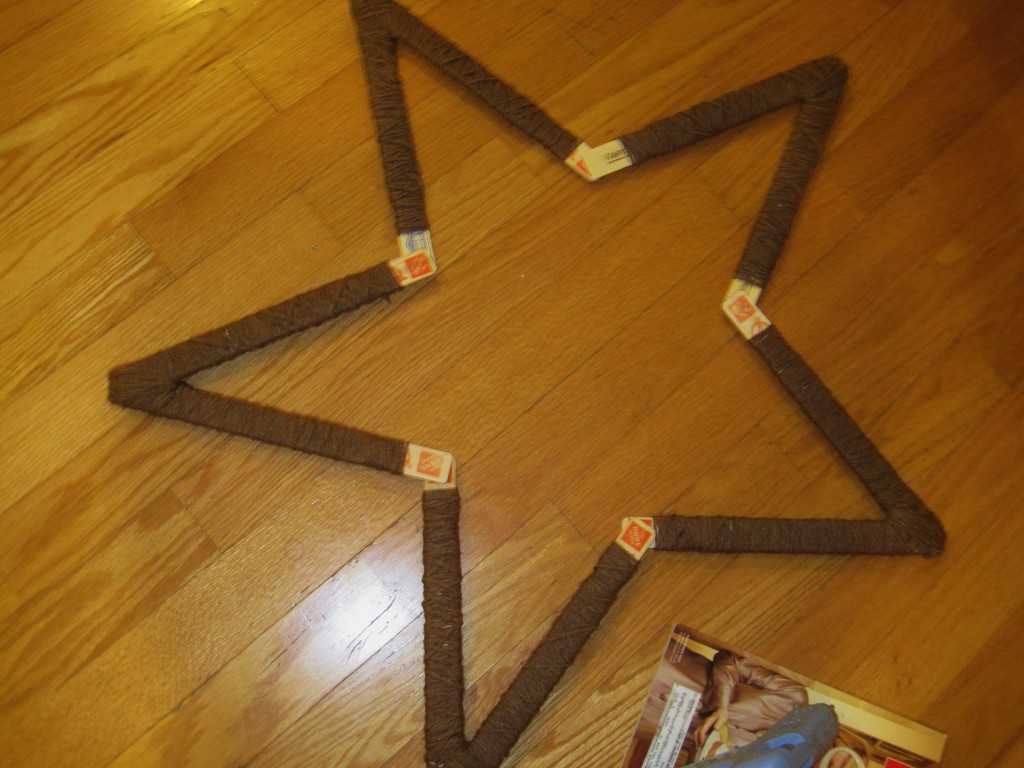
Then, I would only connect a couple at a time (using hot glue again) because the bigger piece you are working with, the more annoying it is to wrap the yarn. It also helps to wrap some loosely around your wrist so it doesn't tangle on the long ends of your star points. It just goes faster.
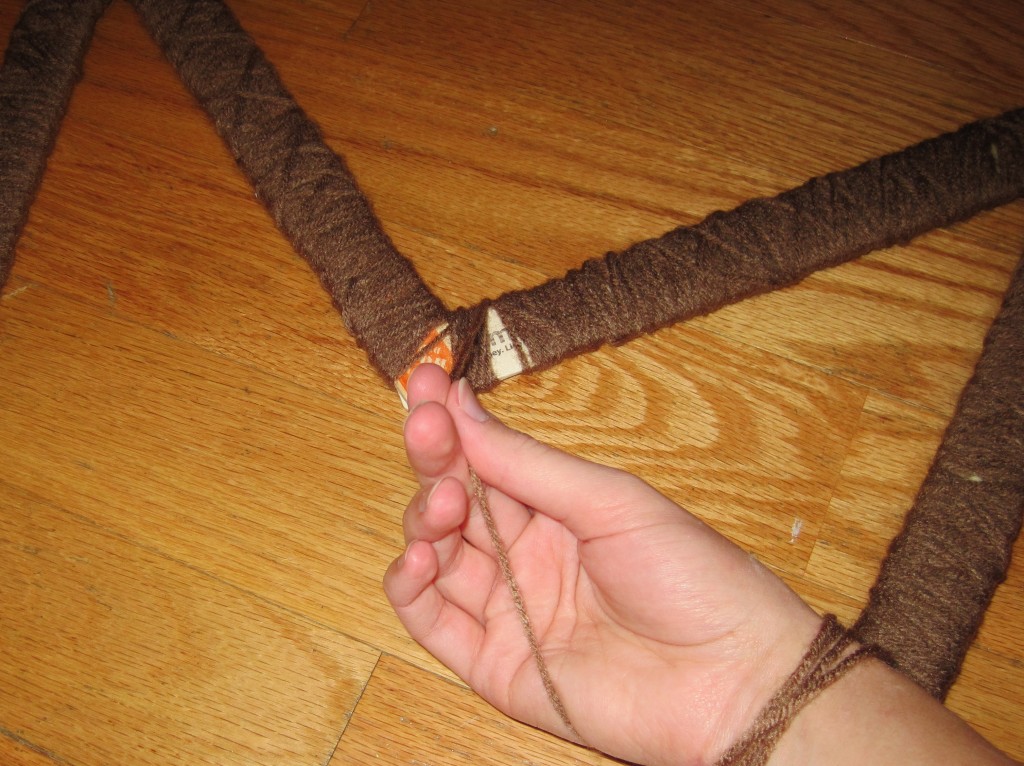
Now of course, the last joint will be a bit unpleasant because you don't have an opening to work with, meaning you'll have to go a lot slower and bring your hand in and around the star each time you make a loop. It's okay, though, because it's only one small area. Don't give up--you can do it!
And then, just like that, your star is complete! Easy and cheap right?
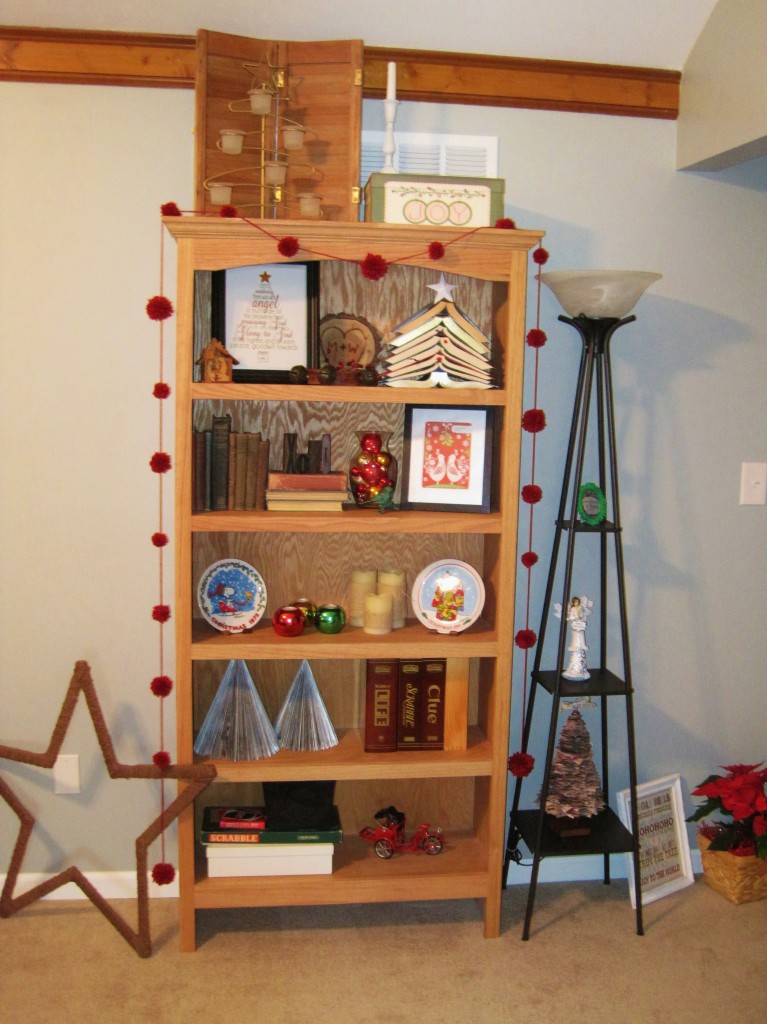
Now, I'll admit we haven't actually hung this guy yet (we need to go buy some hooks) but for now, he's just chilling around the living room. Here he is over by the bookcase...
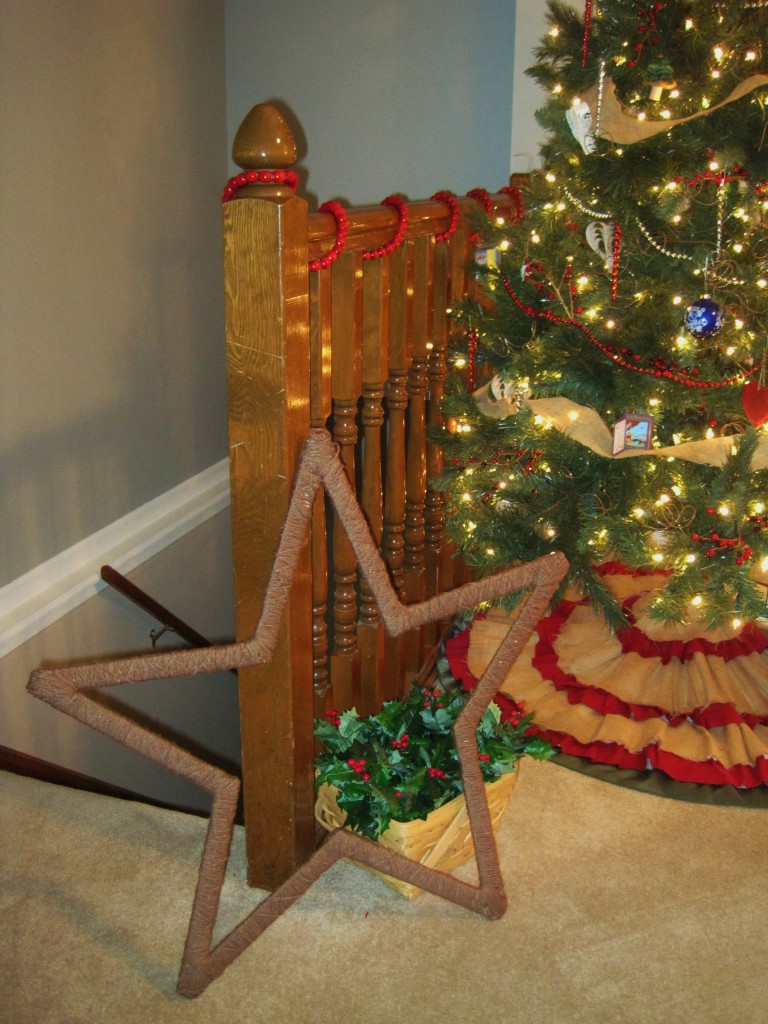
And the tree...
I'd love to know what you think about this project. Thanks for reading and letting me share a little of my story with you. Feel free to visit us over at
LovingHere.com and see more of my Christmas craft adventures (Plus, there's a free printable on
this post!)--I even learned how to use the sewing machine this year!
Isn't that just the cutest!?!?
Thanks Melissa for sharing some of your awesomeness!





 To make this giant star, all you need is glue, yarn and paint stir sticks. (All of which we had, so this project was free for us!)
Yup, those free wooden stir sticks you get when you buy a gallon of paint will work perfect for this. Now, since we've recently painted EVERY ROOM in the entire ground floor level of our house, we had plenty of these to spare. (You'll need 10.)
If you don't have these just chilling in your paint supply bucket, you can get them at any store that sells paint. They might not give you 10 without buying any paint, but you can ask, and if not, they are usually only a few cents each, or you can use rulers...or other pieces of scrap wood...maybe even cardboard, though it might be a little flimsy.
Now, to get started, glue (I used hot glue) the sticks into V shapes. You want them to be as even as possible so your star doesn't come out all unbalanced.
Then, just start wrapping them in yarn, like I did for these


